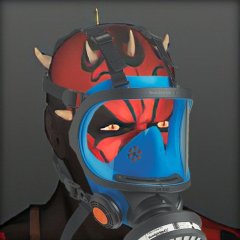
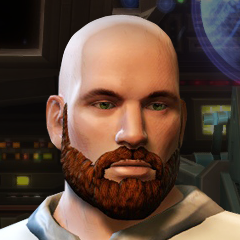
Well as I was searching through the skinning tutorials and there seemed to be none on how to make a good looking texture with gimp, there was a lot on photoshop but not gimp so I decided to share my knowledge of it with the community.
__________
Basics
Basics part 1: Selecting an area
To make good skins you would need to select a precise area to make it look nice. To do this you click on the drop down menu at the bottom. Usually this has 100% in it as a default.
Set this to anything you wish. you should be able to distinctly see the area you wish to select now.
Now to select the area you click on this icon and then click on each "bend point" on the area you want. A bend point is wherever the texture bends away from a straight line.
Basics part 2: Re-coloring
To change the color of a Jedi Robe some beginners use the paintbrush tool. In some cases this might work, but not if you want to make the robes look natural. For a natural look you first select the area you want to change by using the free select tool, if you want to modify the whole texture's color at once you go into "Edit" and then "Select all". Next you go into the "Colors" tab at the top of the page and click on desaturate. Note only do the desaturate step if you want to compleatly change the color, if you don't and you just want a hint of the color in the already existing texture you skip that step.
To change the color you go into the "colors" tab again and click on "Color Balance".
A menu like this should open.
In that menu you drag the bars around till you get the shade you want. This part should be pretty self explanatory as the bars are clearly labeled. If green was your desire, your outcome should be something like this:
If you want a more direct color you go into the "color" tab again and go to colorize. This can give you a quick and effective color but might not retain as much detail.
Basics part 3- Repair
When you select an area and re-color it sometimes you see a tiny bit you wanted that color. To fix this you use the blur function
adjust the size to around .15 then zoom in to 800% and take the re-colored pixal section and hold down the blur and "push them" on top of the other area.
Advanced
This section is for people who know the basic functions of gimp and successfully make a descent re-skin
Advanced Part 1- Overlay
Overlay is basically changing the way the new layers interact with each other when you paste in another texture. In the "layers, channels, paths" toolbar:
There is a dropdown menu here:
in there there will be a bunch of options you select and they make the picture somewhat transparent and molds it to the texture. Click on them all till you get the look you want. Note you must have pasted a new layer into it and NOT merged it down.
Advanced Part 2- Enhance filter
Up in the "filters" toolbar menu there is a section called enhance go into it and select sharpen. Drag the bar in the menu till you get a good look, it really adds to the overall appearance.
I will add some more tips when I find them but here they are for now.
Enjoy~


