All Activity
- Past hour
-
pfhb02.mdlpfhb02.mdx
-
 For references it looks like this on the video, skip to 24:03, silly yeah, but hiliarious Nevertheless
 -
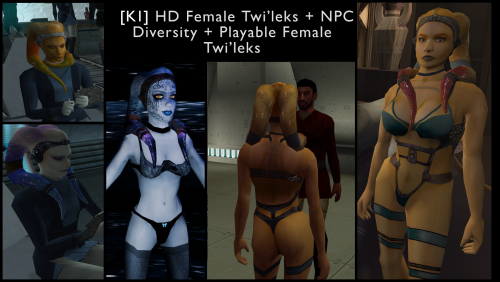
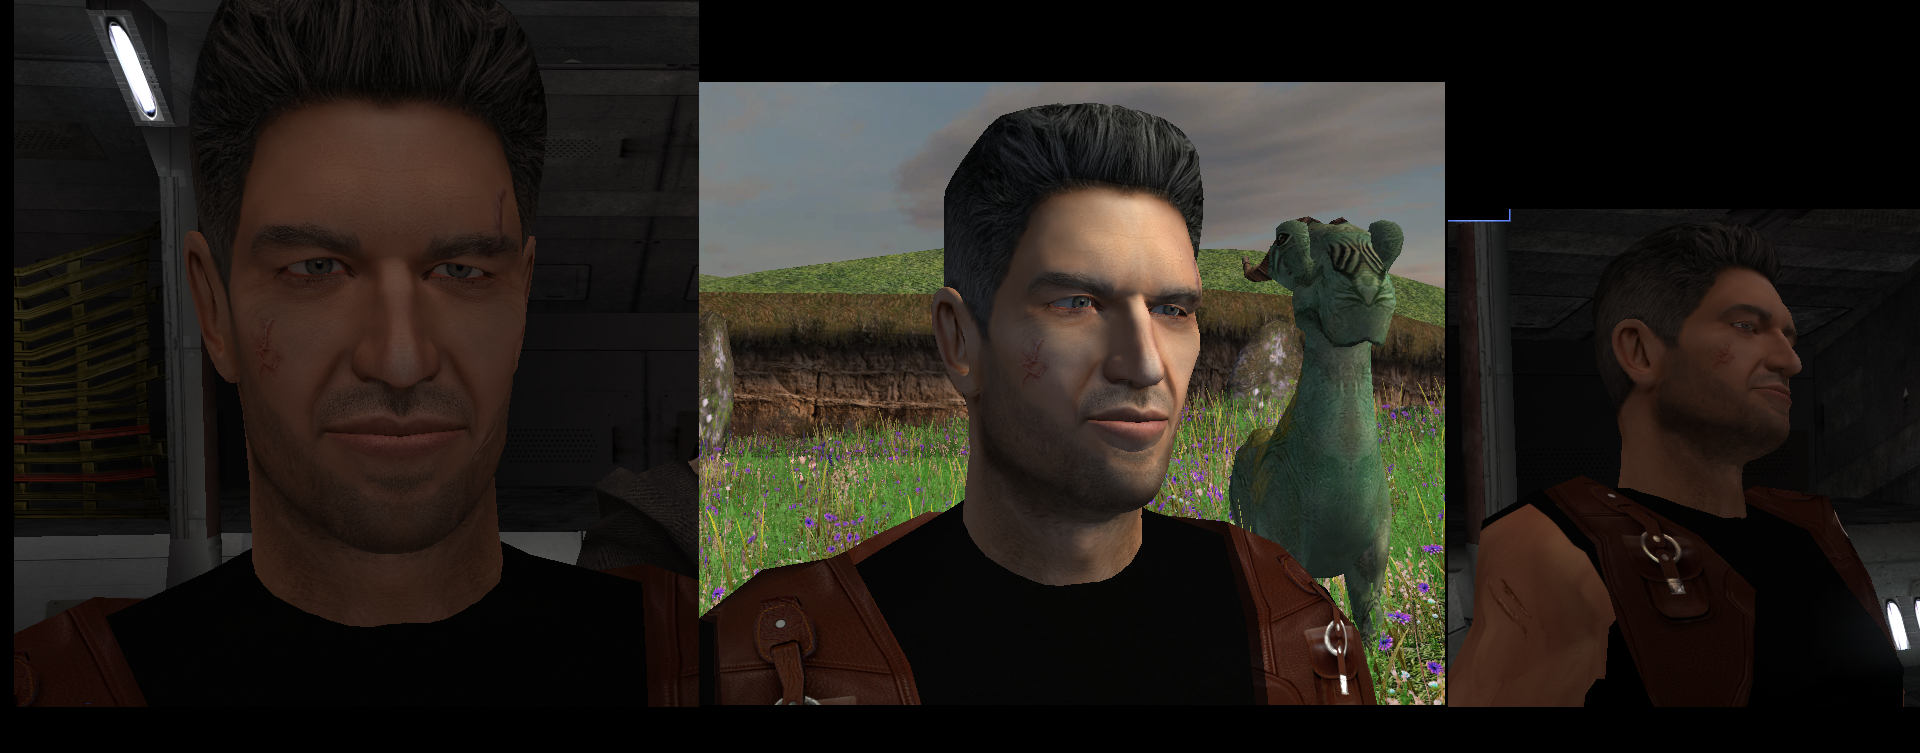
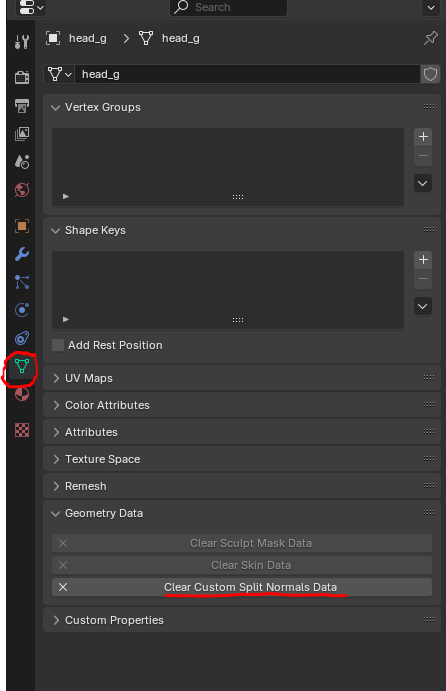
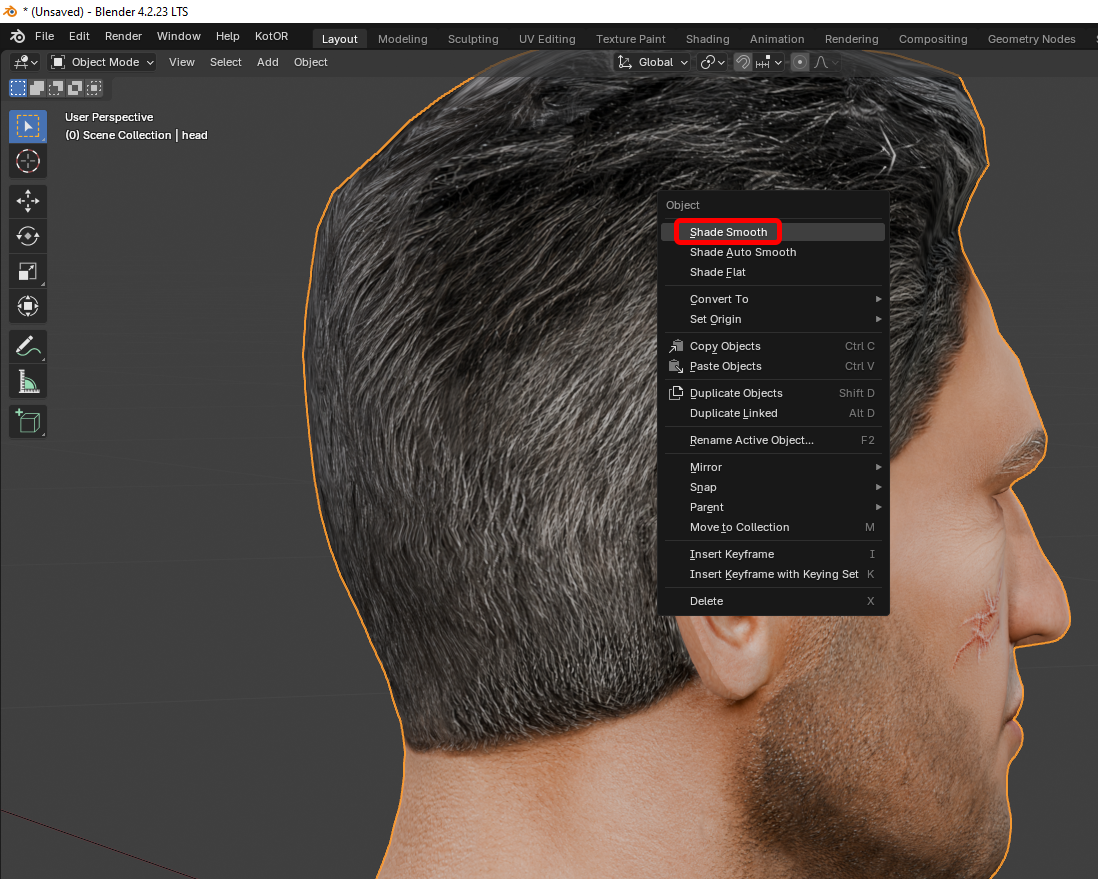
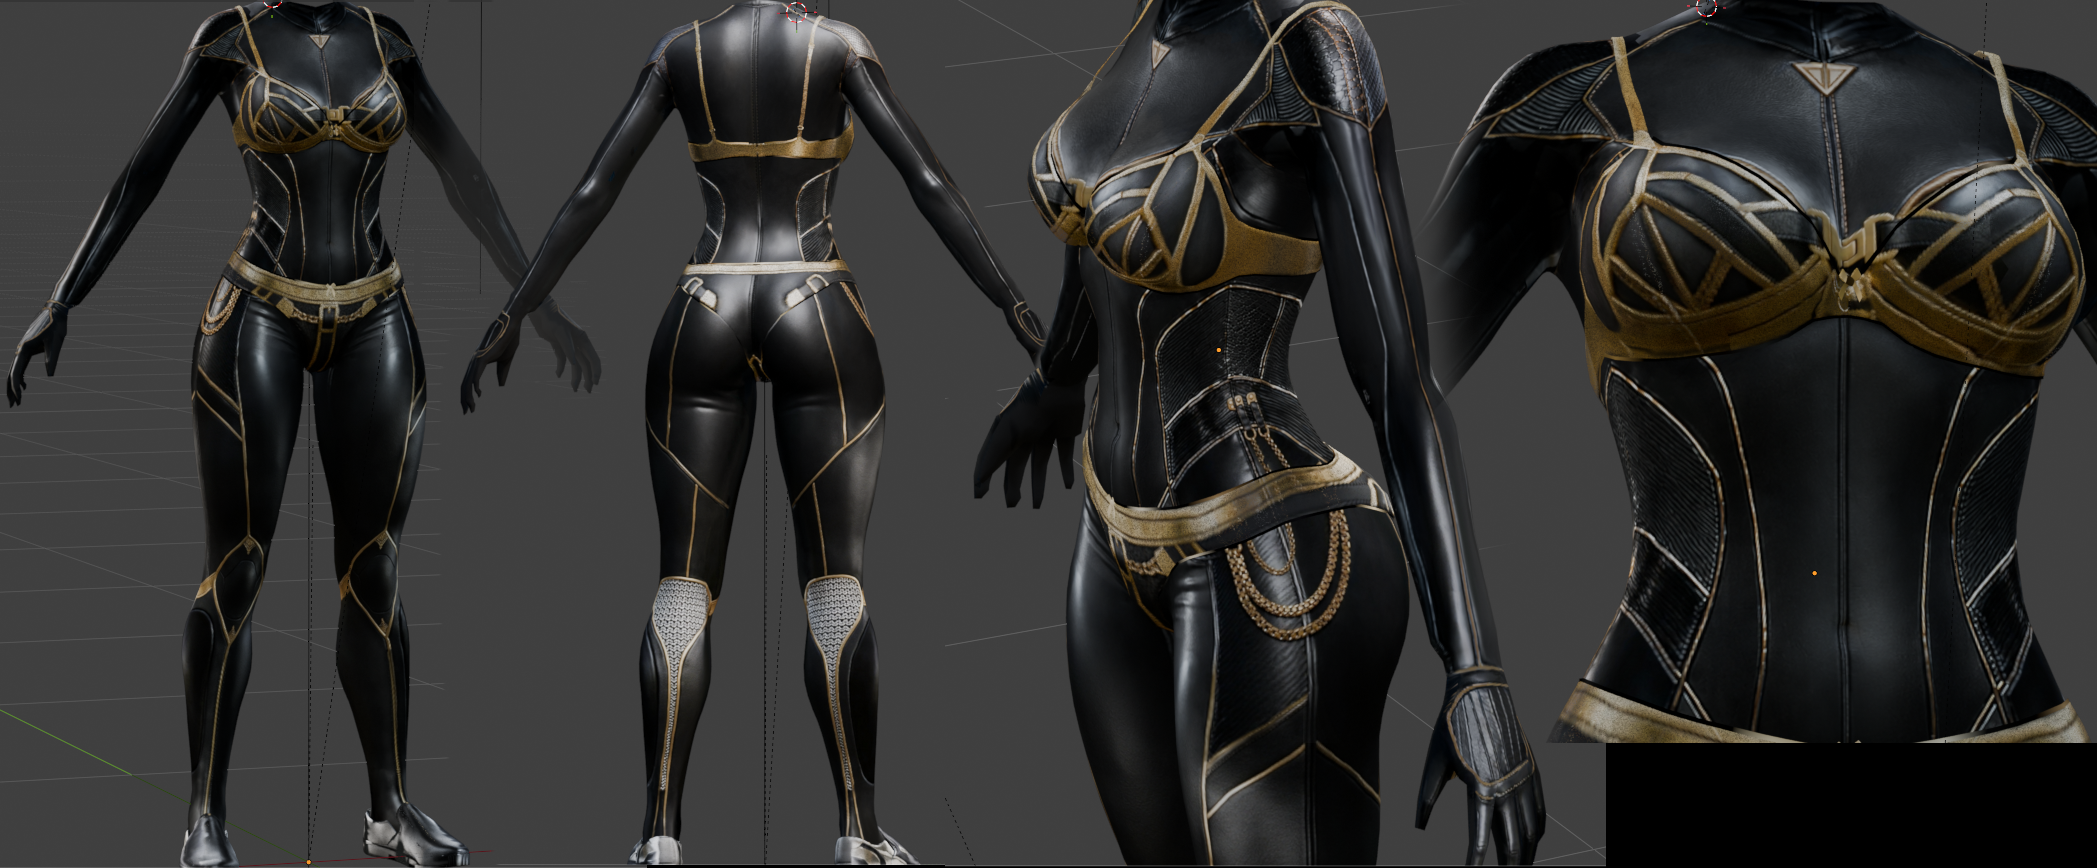
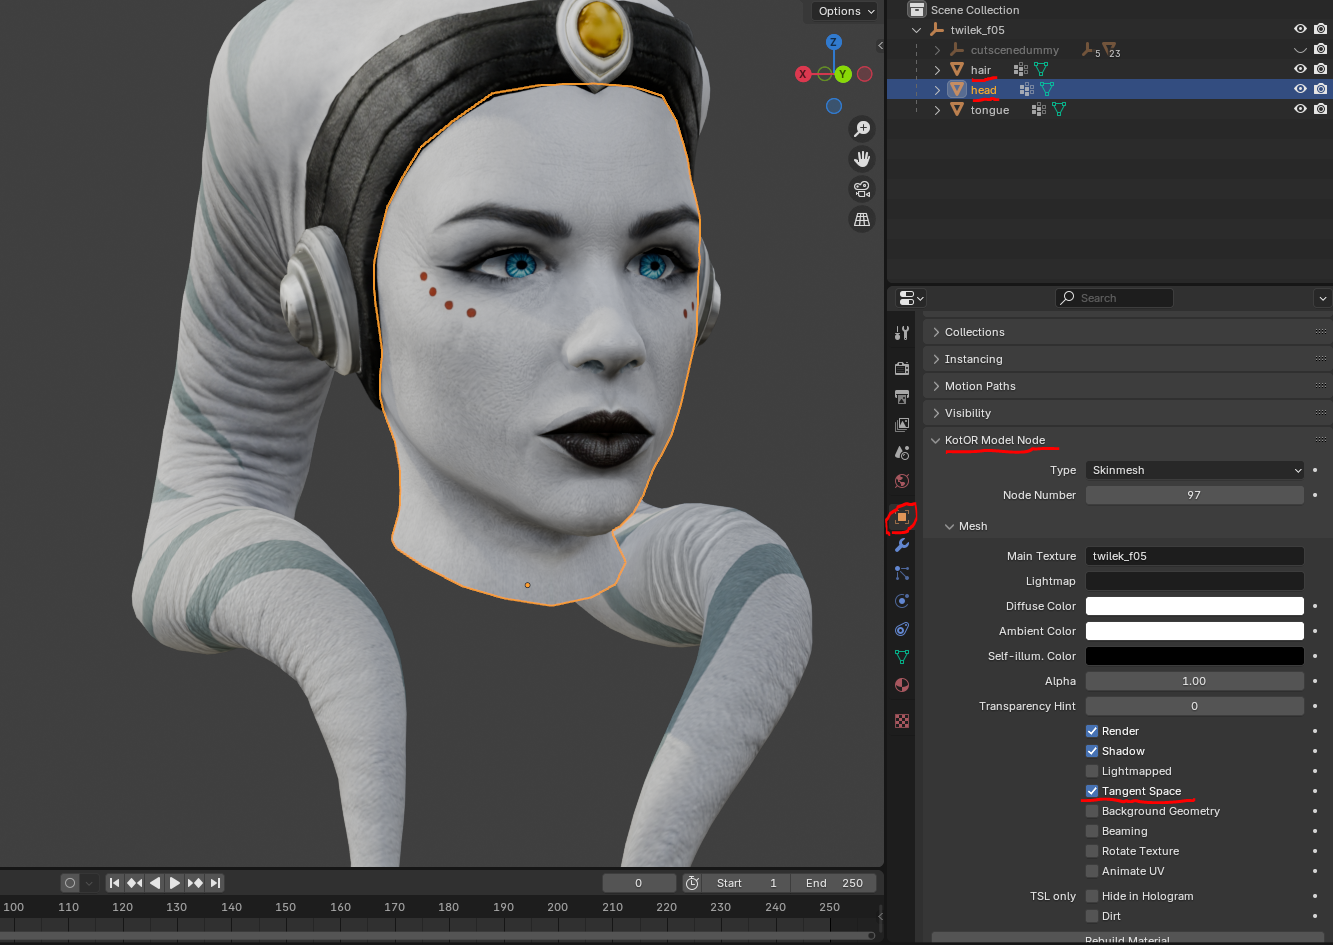
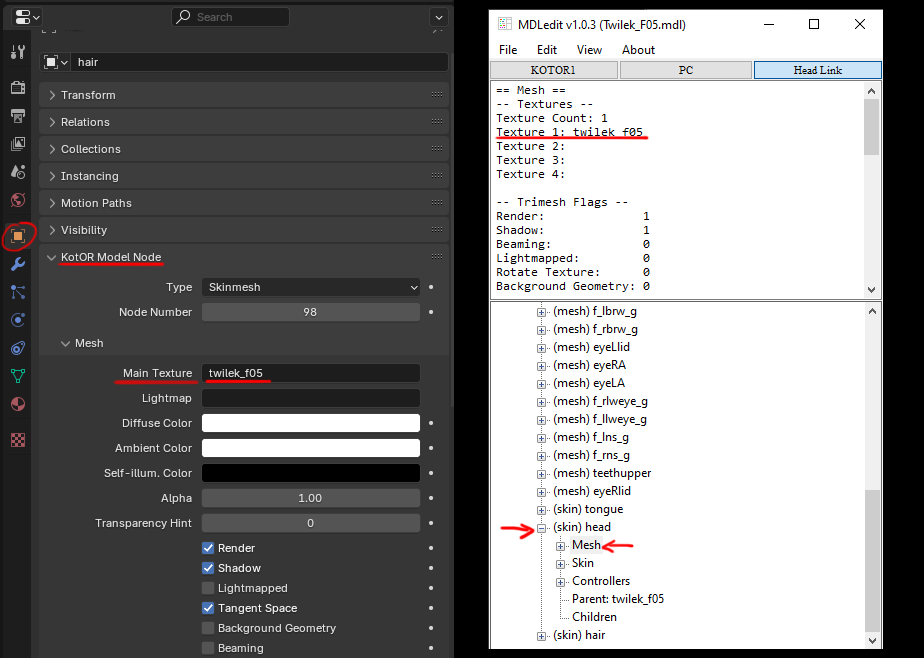
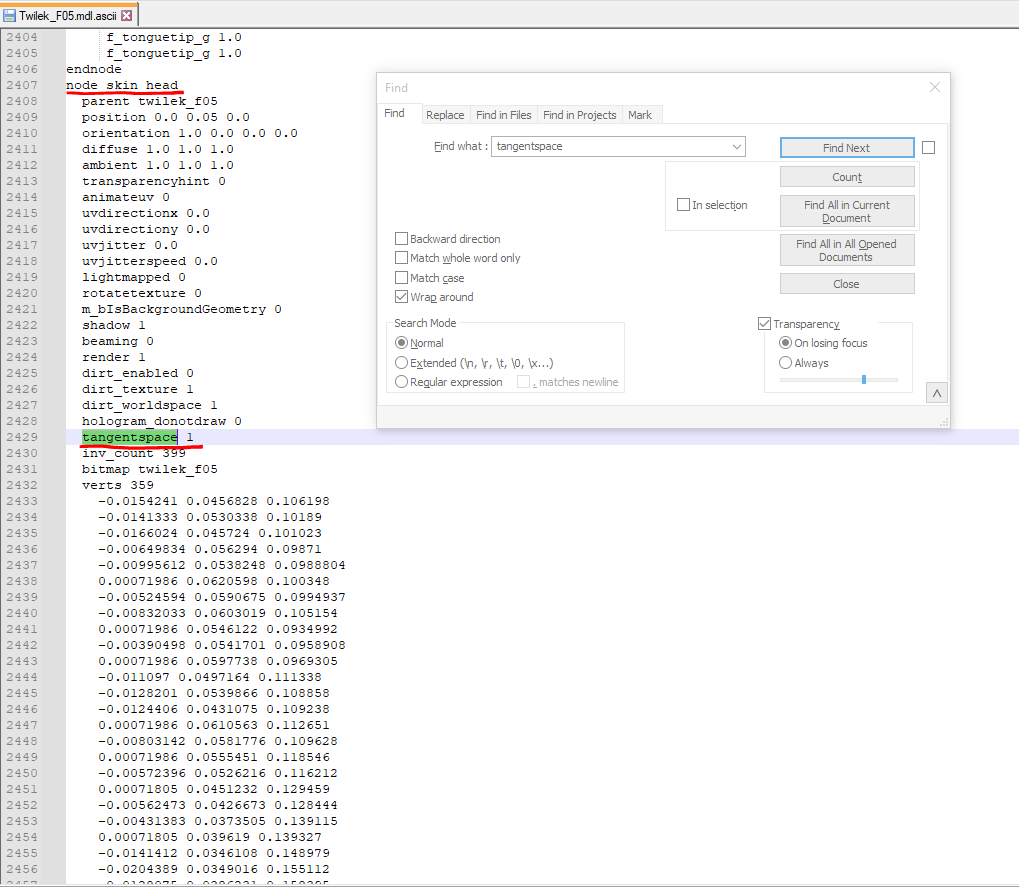
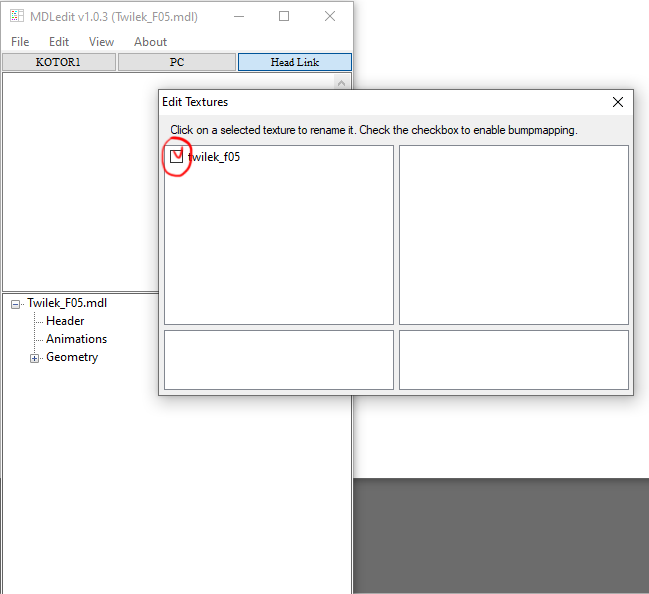
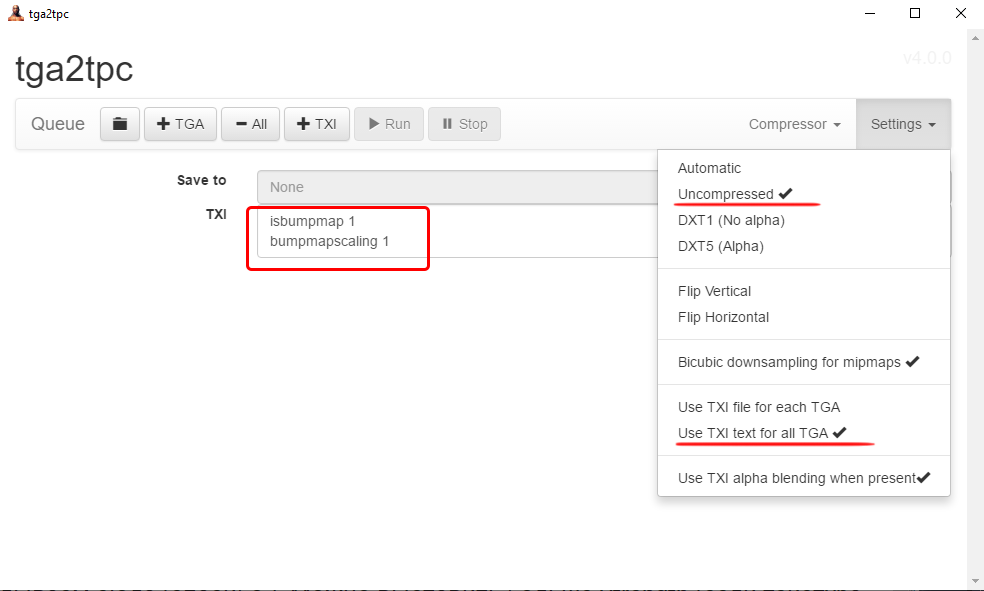
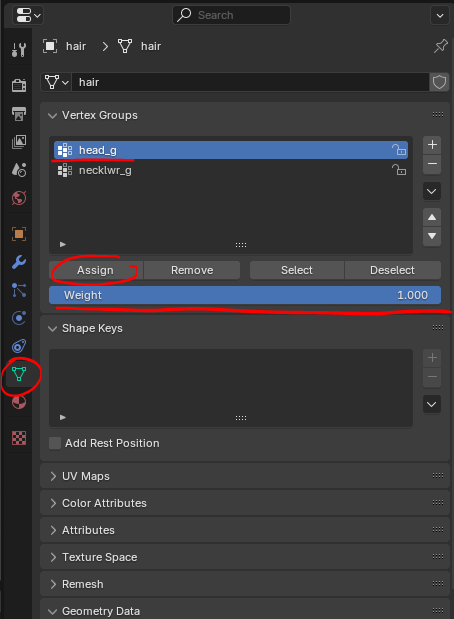
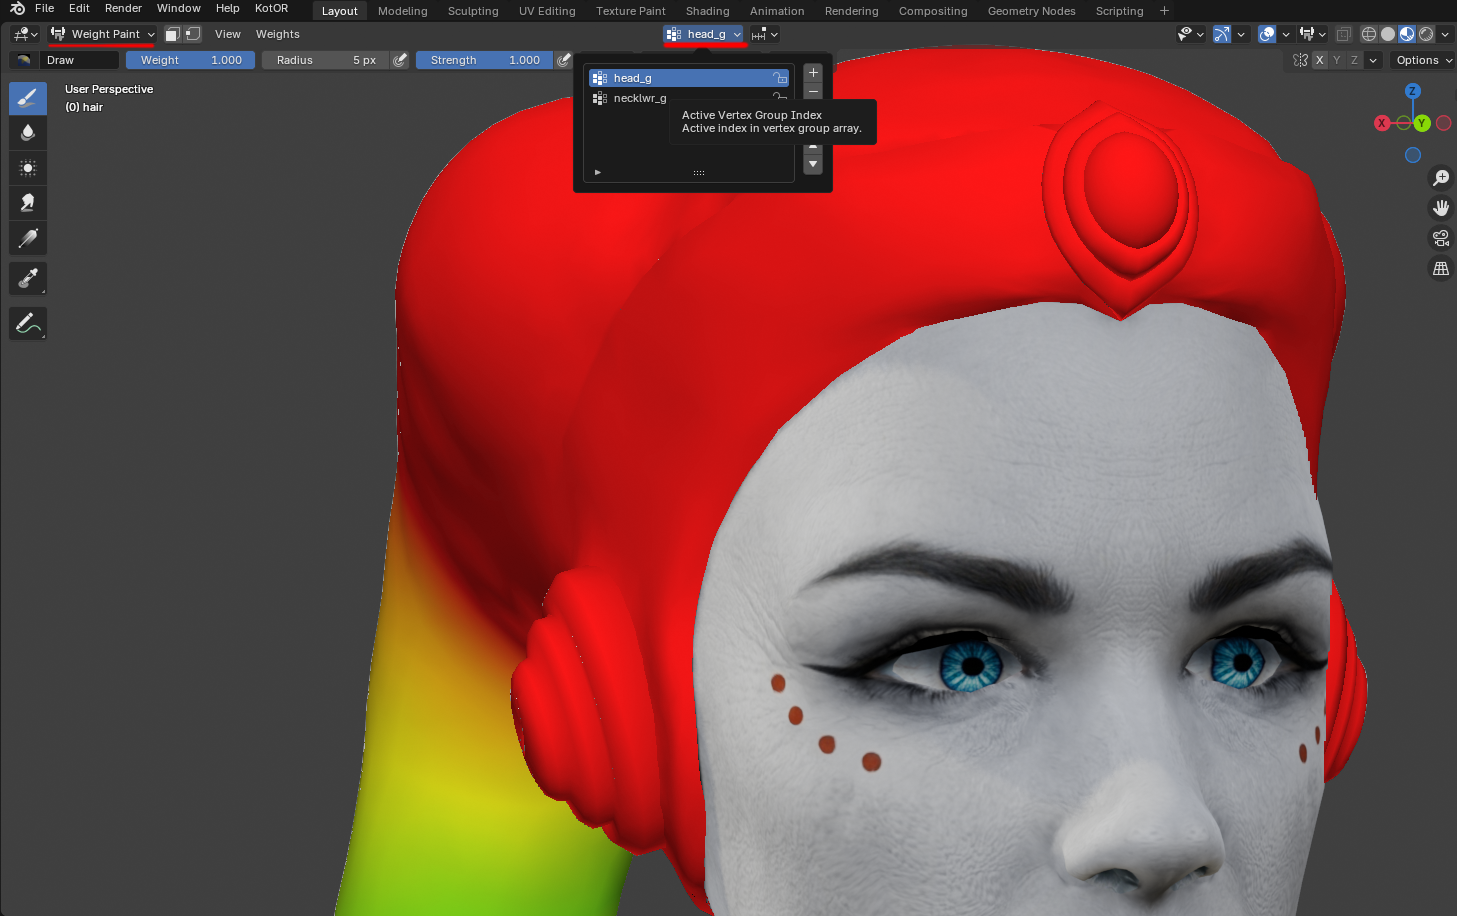
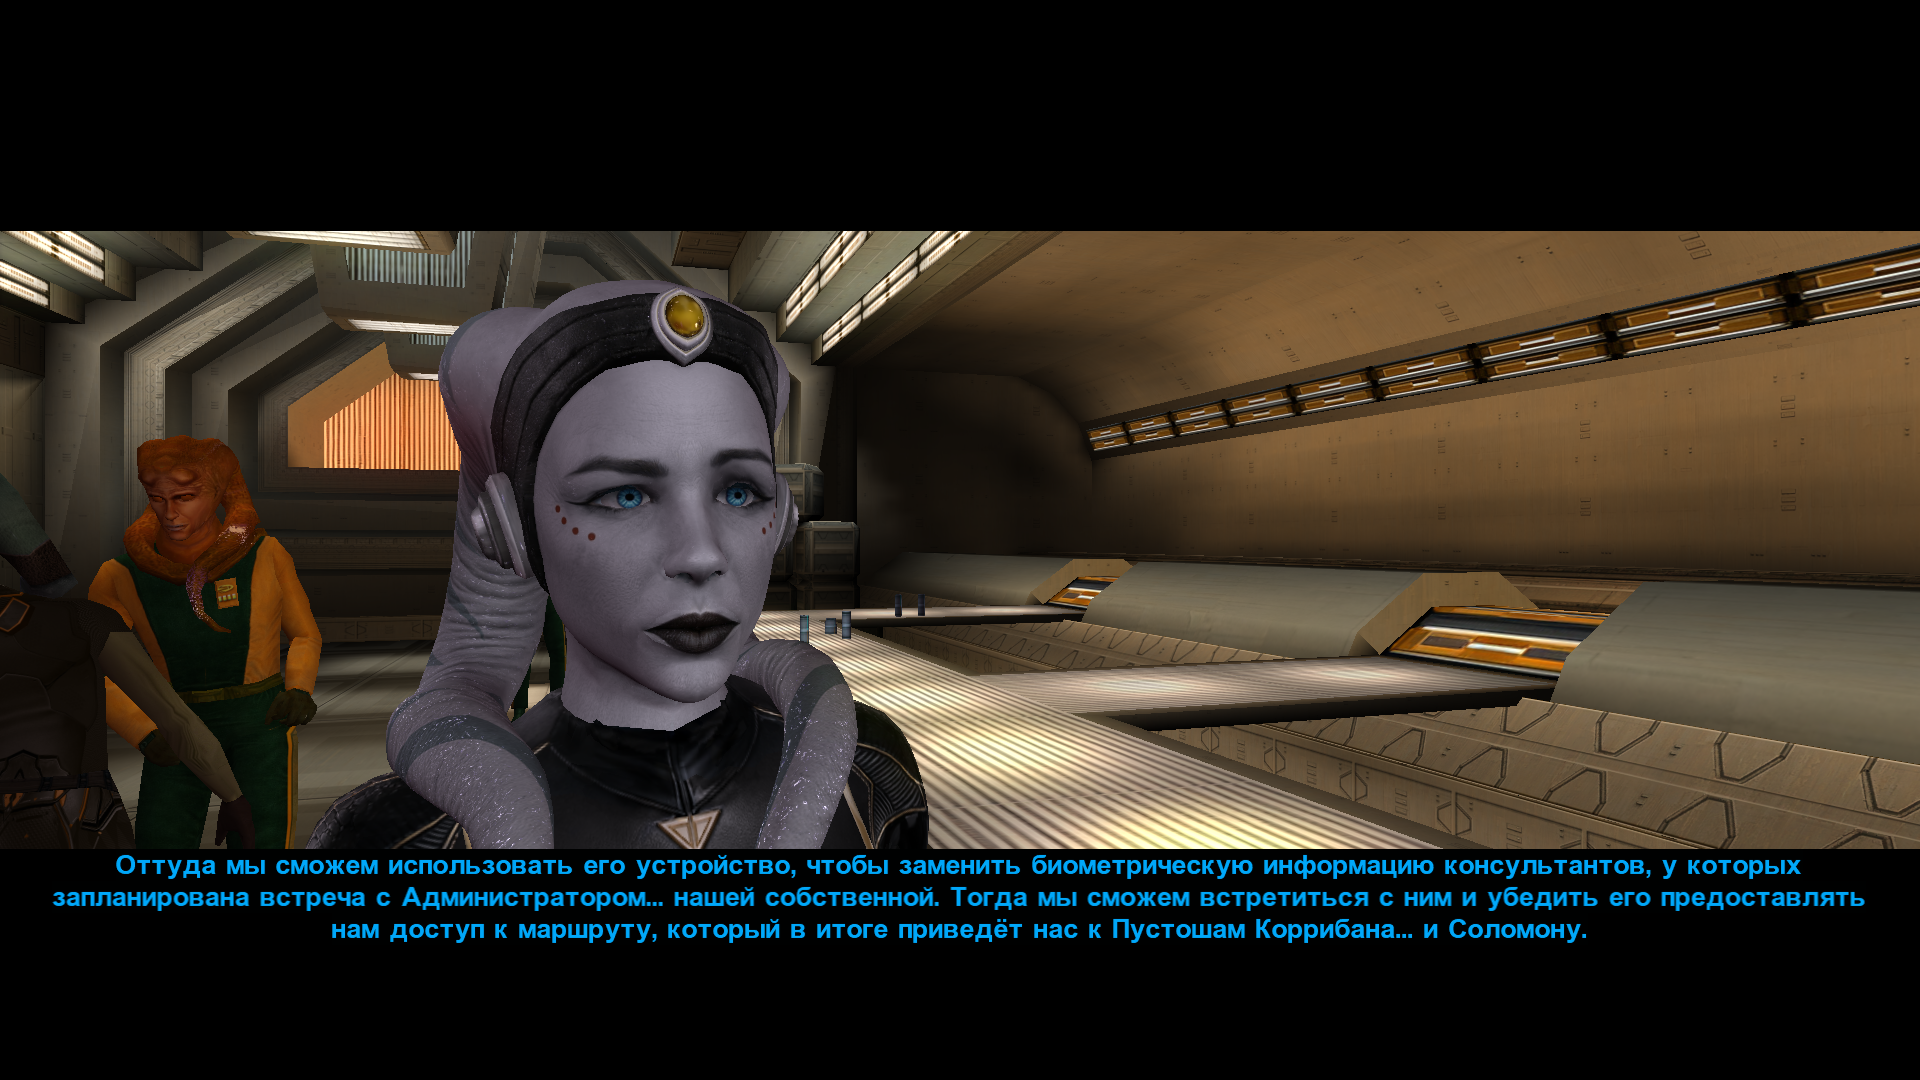
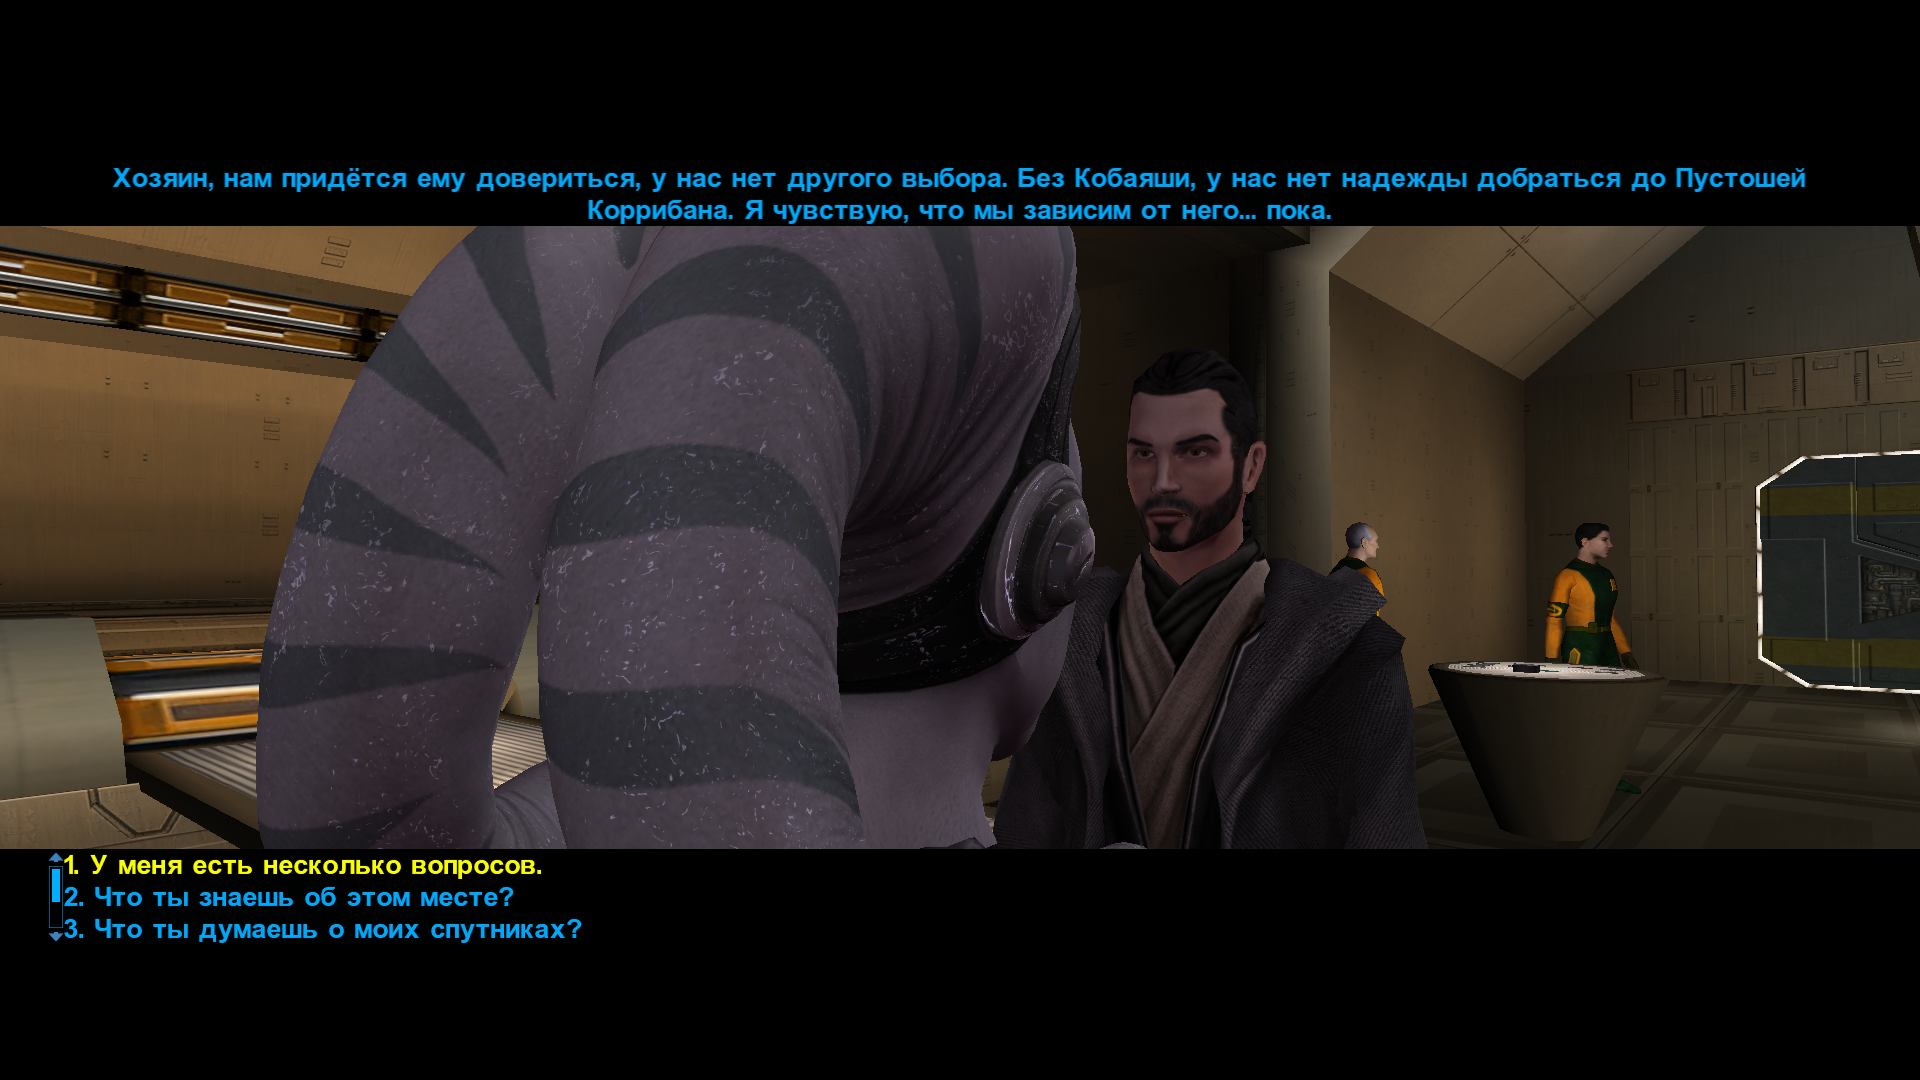
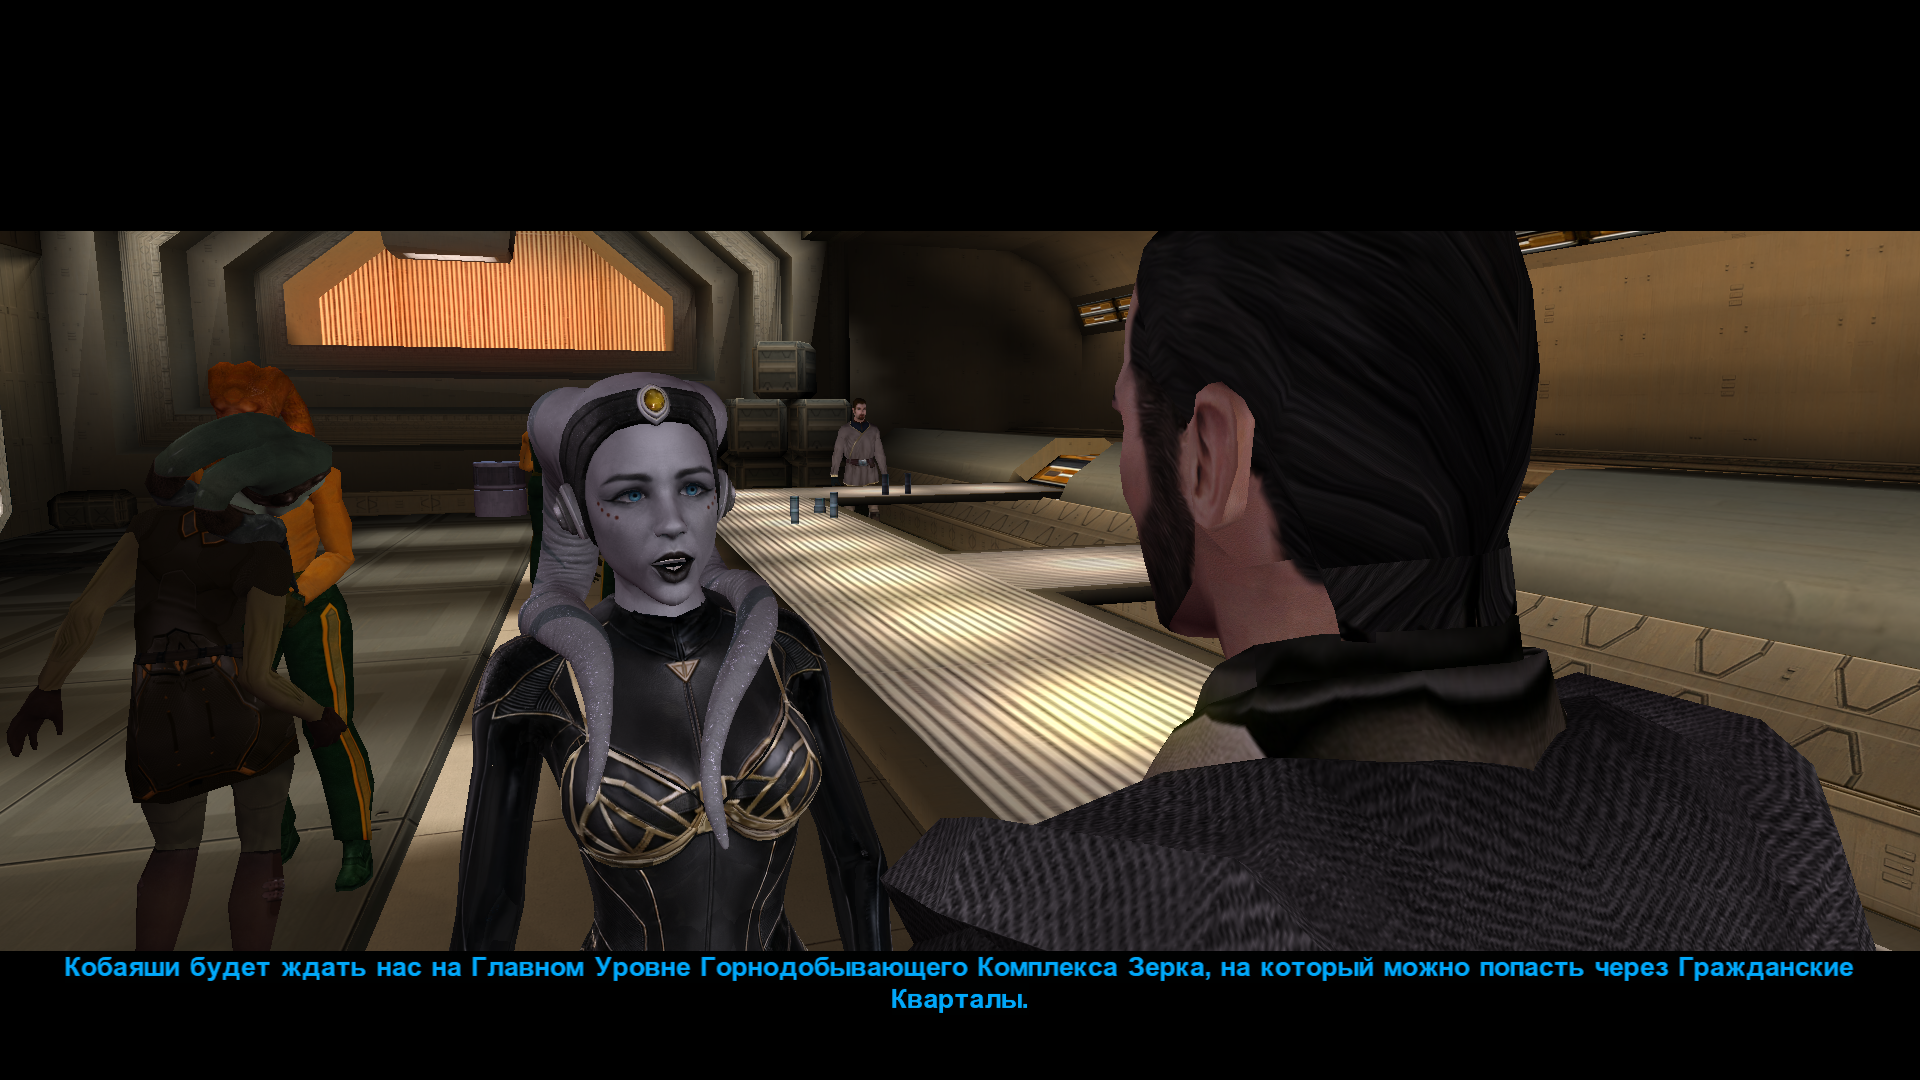
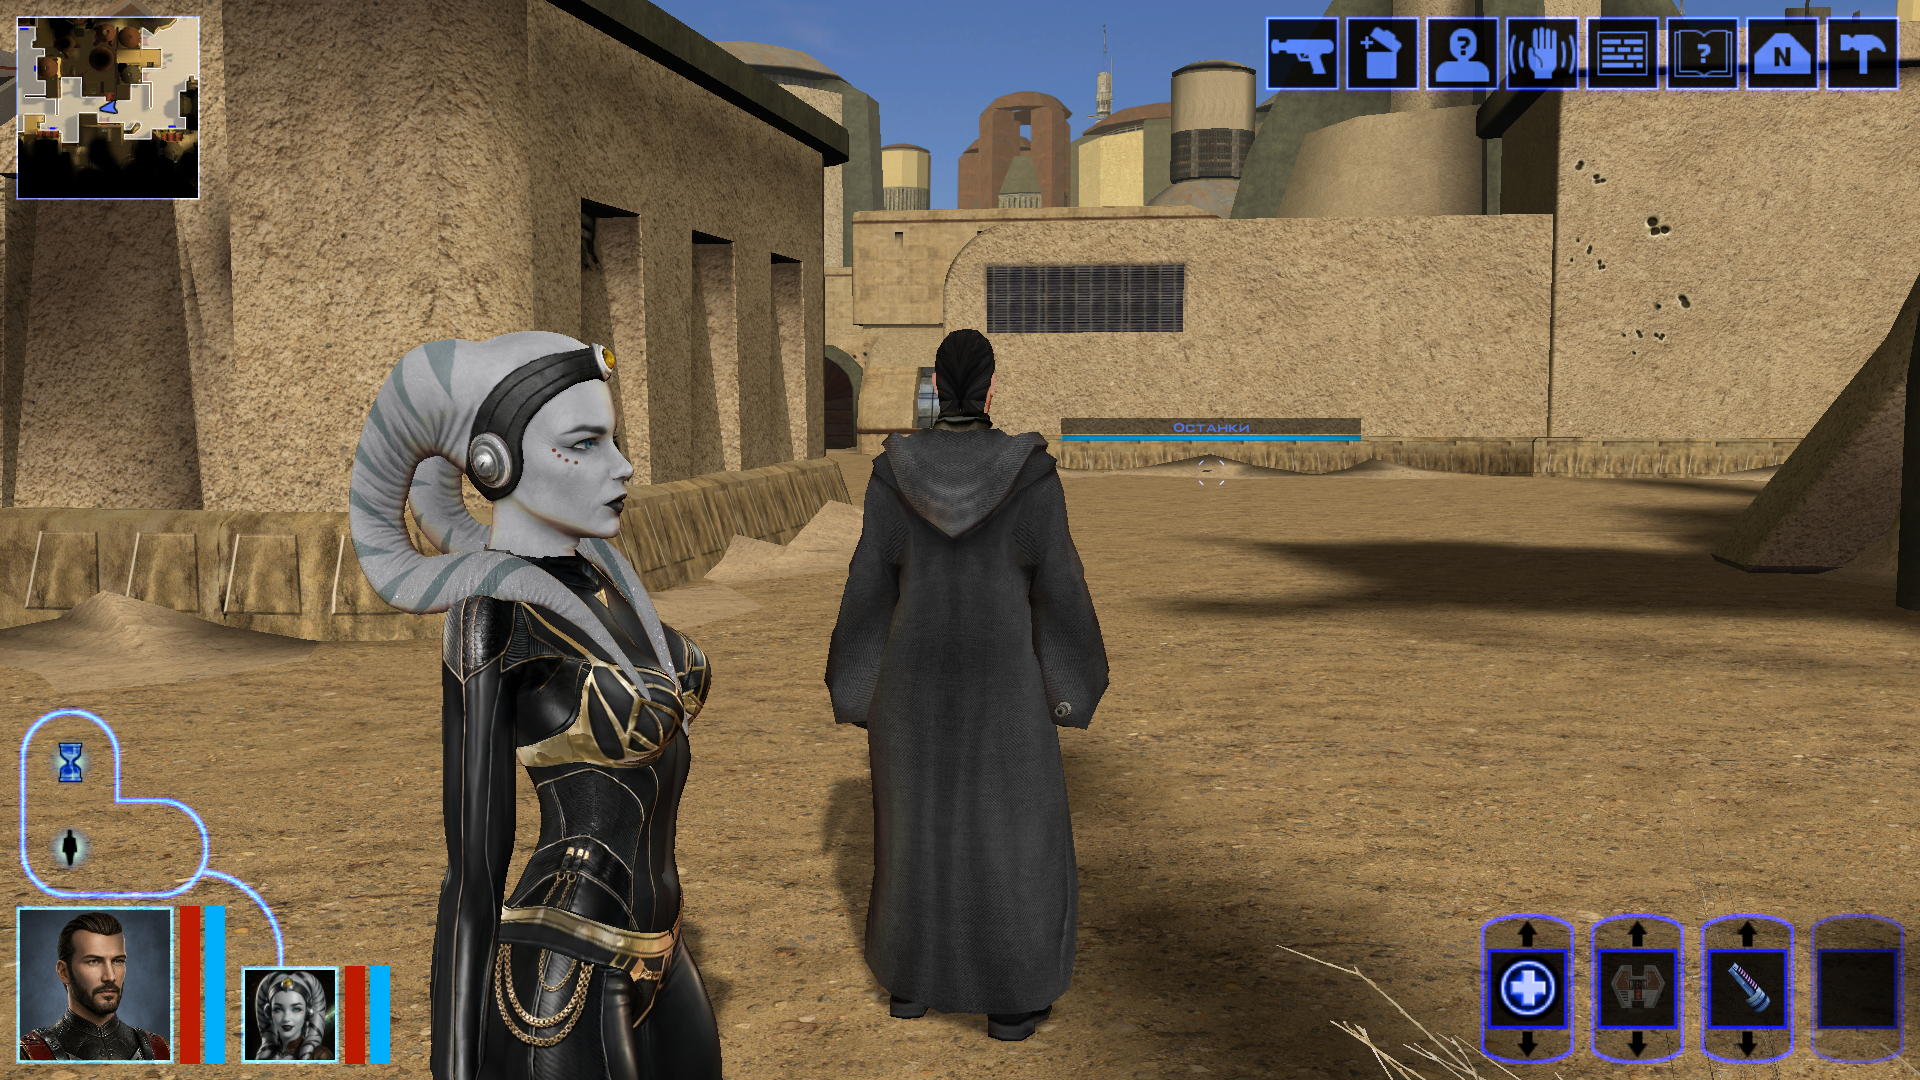
Hi everyone on this great forum! 😊 I decided to start my own little thread, even though I’m still relatively new here. I’ll be posting my work-in-progress, notes on how things are done - mainly for myself, so I can come back and refresh my memory later. If it ends up being useful to someone else as well, I’ll be happy of course. I’m sure everything I’m writing about has already been discussed countless times on this forum and is familiar to everyone. But I’m still a newcomer! My already released mods: https://deadlystream.com/files/file/3054-new-portraits-for-partymembers/ https://deadlystream.com/files/file/3055-hd-animated-computer-interface/ https://deadlystream.com/files/file/3079-saul-karath-retexture/ https://deadlystream.com/files/file/3092-narves-new-high-poly-canderous-head/ While working on the Canderous head I made a bit of progress learning Blender. I only knew it at a very basic level before, because I’m a 2D artist, not a 3D one. I still don’t really know what proper topology should look like, how to paint weights correctly, how to build textures with nodes, and so on. I’ll be learning all of that gradually. For this particular head I took a high poly mesh from this mod - big thanks to the author! Of course I heavily edited it: the geometry, the UV unwrap, and the texture. I also learned a few useful texture painting tricks. Geometry-wise the hardest parts are always the eyes and the lips, because the animation has to deform them properly, and what looks fine in Blender often ends up looking completely different in the game. Something I’d like to note here for myself - how to get rid of grey spots on the model after exporting from Blender to mdl/mdx: 1. The most important step - clear Custom Split Normals Data: Select the head mesh in Object Mode. Go to the Object Data Properties tab. Expand the Geometry Data panel. If the “Clear Custom Split Normals Data” button is active, click it. This removes the old broken data and forces Blender to recalculate the normals. Also helpful: 2. Apply smoothing — Right-click the model → Shade Smooth. 3. Apply transforms — Use with caution and only when needed! Things can shift in unexpected ways. In Object Mode select the head and press Ctrl + A → Apply All Transforms. ____________________________________________ P.S. English is not my native language, so I apologise in advance if anything is phrased awkwardly. ____________________________________________ Then I decided to retexture the high-poly Bastila body from the TCS mod. The thing is, we started playing through BOSSR on stream, and there Shadow uses Bastila’s body. And we have this Bastila mod installed. So I made her this outfit. I didn’t touch the model or the UV unwrap, only the texture. I painted the alpha channel in the places that should be more shiny. Since I don’t know how the original model author would feel about this little “side project” of mine, of course I won’t be releasing this texture anywhere — it’s purely for personal use. After that I moved on to her head. I wanted both the lekku and the face itself to have more polygons. So I simply applied a Subdivide, then worked on the mesh — editing vertices, sculpting, and so on. Then I started texturing, and at that point I really wanted to add a bump map so the lekku would look bumpy the way vanilla Twi’leks do (even if the vanilla ones are very low quality). I dove deep into the problem — I remember spending entire weekends glued to this forum reading everything people wrote about adding bump. Nothing was working for me. I tried every piece of advice, converted the poor bump map to TPC every which way, opened the model files in ASCII and searched for tangent vectors… I even started recalling university calculus about quaternions and how I used to redefine matrix multiplication in C++ practicals…🤣 It turned out the problem was completely different. The BOSSR mod authors used the "Twilek05" head model, but in heads.2da they assigned it the texture name "matilda_headd". Meanwhile the model itself is linked to the texture "Twilek05". And even though the engine can pull the main (diffuse) texture information from a texture that isn’t the one specified in the model, it cannot pull bump map information (and apparently txi info as well) from a texture with a different name! I don’t know why it works this way — maybe some internal script. Anyway, once I renamed the main texture to "Twilek05.tga", the bump map to "Twilek05b.tpc", wrote this in the "Twilek05.txi": bumpyshinytexture CM_SpecMap bumpmaptexture Twilek_F05b and also put "Twilek05" as the texture in heads.2da — miracle of miracles, the game finally saw the bump map! Yes, it didn’t turn out perfect — the bumps are too fine and therefore look a bit like shimmering. I probably won’t fix it, because we had to abandon that mod playthrough — it conflicted with other mods. But I’ll write down the key points needed to add bump (even though all of this is already on the forum — huge thanks to DarthParametric and everyone else who shared advice and tutorials): Before exporting, you must enable the “Tangent Space” checkbox in the KotOR Model Node plugin options for all the meshes that need it (in my case “hair” and “head”). To verify — open the model in MDLEdit, save it as ASCII, open it in Notepad++ and search for the word “tangentspace”. On the relevant nodes it should say tangentspace 1, not 0. If it somehow still shows 0 even though the checkbox was enabled on export from Blender, change it to 1, save, open that ASCII file again in MDLEdit (it might complain that it can’t recalculate the vectors — hopefully that’s not a problem), and then save it back to binary mdl/mdx. You can also just tick the corresponding checkbox in MDLEdit itself and re-save — but keep in mind that the bump will then be applied to every mesh in the model that uses that texture, not only the ones you might have wanted. Preparing the .txi. It must have the exact same name as the main texture, and the main texture must be the one that is actually linked to the model. Inside the .txi you need: bumpyshinytexture (your Cubemap) bumpmaptexture (your bump map name) In theory bump should work without the shiny part (only the line "bumpmaptexture " in txi), but for me it never did — because in that case the engine treated the alpha channel of the main texture as transparency. Meaning: if you darken the alpha to make the bump stronger → the object becomes transparent if you leave it white → no bump is visible. Maybe I’m doing something wrong? Preparing the main texture. It must be named exactly as specified in the model (you can check that here). It needs an alpha channel that controls both the shininess (via the Cubemap) and the strength of the bump. The darker the alpha, the stronger both effects. Yes, both at once — there’s no other way. Preparing the bump map. Save the main texture as an image and throw it into this website (again, thanks for the link — found it on the forum). You can increase Strength if the texture isn’t very contrasty, and add a bit of blur (slider to the negative side). Download the result and save the texture as TGA with a pure white alpha channel. Then use tga2tpc with these settings. You can also add extra lines or strengthen the bump with the bumpmapscaling value, as DarthParametric wrote here: https://deadlystream.com/topic/9353-bump-mapping-tutorial-request-for-novices/#findComment-87017 Final contents for the override folder: the model (mdl + mdx), the main texture (tga), the .txi with the parameters, and the bump map (tpc). Phew. The last thing I learned on this head was adding new geometry — I wanted to model headphones and a stone on her forehead. Important points here: convert everything to triangles and weight-paint it to the head. To check — switch to Weight Paint mode and make sure it’s painted red. If you need a piece not to move with the head, weight-paint it to the neck instead (a different vertex group). If you don’t weight anything at all, those pieces of the model simply won’t appear in the game. 🙃🙃 I’ll say it again: I’m by no means an expert on KOTOR modding, so I apologize if I write or do anything incorrectly! And, of course, I’d be grateful for any advice, comments, or corrections.
- Today
-
 _evil_jake joined the community
 -
I've seen it be tested, and it seems to work. https://youtu.be/2qNOMzYqz_k I just reeeeeaaaaally want my hands on a Rodian player character without it being the weird model you get in the base game.
-
I haven't tested that, but probably, unfortunately.
-
 JO5H joined the community
 -
I am talking about the dangling hair by the forehead. Could the model be tweaked to reduce the amount of swinging?
-
What do you mean?
-
Great work! Do you know if it is possible to slightly reduce the sway animation of the fringe? Cheers!
-
Ahh I see, much better that default dark side underwear, which frankly speaking isn't my cup of tea. Ohh, also during Darth Revan reveal scene in the game, do head-tails pops out of Revan's hood?
-
Yep! You can see an example in the first screenshot.
-
 Xeye joined the community
 -
Ahh, I see, it is what it is, anyway thanks for your help, a quick last question, do Playable Female Twi'leks change their underwear when their tansitions to dark side, if so, how do they look like?
-
 Sw1fty joined the community
 -
 NightGerm joined the community
 - Yesterday
-
 MikeyNixon joined the community
 -
 EmeraldGamer joined the community
 -
Unfortunately that's not something I can fix. It's just the way that shadows work on that model because it's all skin. You can see the same thing happening in KotOR II on Handmaiden's default model. If you stand in the light you can see that the color on the texture is correct, it's just the lighting.
-
 Alex-Can joined the community
 -
View File High poly PFHB02 The mod replaces the PFHB02 model and textures. To Install 1. Download: PFHB02 2. Copy all files to the Knights of the Old republic's Override folder. (Example location - C:\Program Files (x86)\Steam\steamapps\common\swkotor\Override) 3. When/if prompted to overwrite files, press okay. 4. If you like the mod; leave a comment or endorse! (It would be much appreciated) Made with love. Submitter Dark Hope Submitted 09/16/2026 Category Mods K1R Compatible Yes
-
 Zemurin joined the community
 -
I would leave the RCM files in place, personally.
-

T3 skins for KotOR 2 not working.
Aishoena replied to confuuzed's topic in General Kotor/TSL Modding
Check if the file extension is lowercase (.tga not .TGA) and ensure Android file permissions allow game to read Override folder. -
Yep, it works thanks, now it's not noticeable, one last thing, could you look into fixing shoulders if it is possible?
-
Try redownloading and reinstalling again. Hopefully this fix works for you!
-
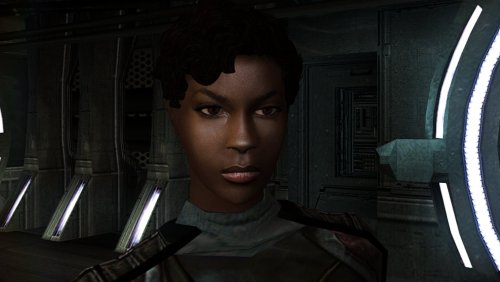 Wow this is really cool! Thank you!
 - Last week
-
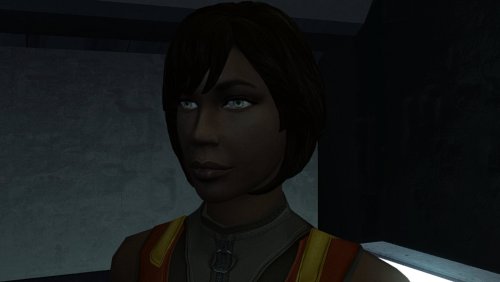
Version 1.0.0
14 downloads
The mod replaces the PFHB02 model and textures. To Install 1. Download: PFHB02 2. Copy all files to the Knights of the Old republic's Override folder. (Example location - C:\Program Files (x86)\Steam\steamapps\common\swkotor\Override) 3. When/if prompted to overwrite files, press okay. 4. If you like the mod; leave a comment or endorse! (It would be much appreciated) Made with love. -
 Worked great!
 -
 The camera effect has always annoyed me so much, this makes running around the ship vastly better!
 -
 It's a small change but the visions look so much better now!
 -
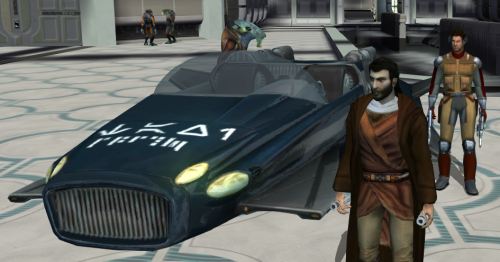 Worked great, no more running all over!
 -
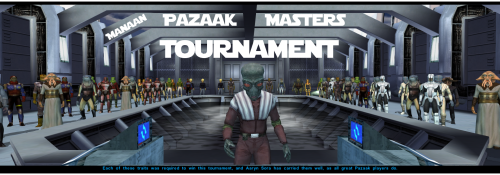 Really fun addition to the game, and no bugs encountered! Worked great combined with Easy Pazaak, as directed here I installed this first then added the file from EP to override. Definitely will include in future playthroughs!
 -
I have a fix for you. I'll post it in a few hours when I'm free.