

Thor110
-
Content Count
732 -
Joined
-
Last visited
-
Days Won
52
Posts posted by Thor110
-
-
2 minutes ago, ZeldaTheSwordsman said:No implication of a cataclysmic superweapon or of some potent Jedi other than Revan playing a pivotal role (or Revan being late to the battle). Every implication of Revan themself, leading the charge and ultimately overwhelming the Mandalorians through force, cunning, and sheer cussedness. Explicitly saying that the Mandalorians were fought to a standstill and then pushed back, which while not the most detailed is still very much at odds with the sequel's conceit of the Mass Shadow Generator being what did the job and the Exile being the one behind it.
I guess this is just down to the two games being made by different developers and written by different people, unfortunately I suppose some of these things are the main reason some people tend to prefer the first or the second more, personally I thought they worked together quite well leaving the player to imagine the ultimate conclusion and backstory of the player character in both games. Though there is of course still a lot amiss and that might not add up so well, correcting this could mean potentailly rewriting both games, or just rewriting the second in it's entirety.
2 minutes ago, ZeldaTheSwordsman said:1. Canderous explicitly refers to it as the final battle. Here is the entirety of what he says about the Battle of Malachor V: "I still remember that final battle in the skies above Malachor V. The two fleets filling the space around it, outshining the stars...It was not your ships or your men or your vaunted 'fight for freedom' that won this, the final battle of the war. It was by the actions of one person - you - that the Republic prevailed. Your strategies and tactics defeated the best we could send against you. Even Mandalore himself was taken aback by the ferocity of your attacks, the tenacity of your defenses and the subtleties of your plans. You fought us to a standstill and then began pushing back. We didn't really have a chance. It was by the actions of one person, the Jedi Revan, that you prevailed."
Ok, now I remember it a bit clearly but it still sounds more like a campaign was led during that last battle that ultimately broke through their lines during a large battle over Malachor V, the inevitable conclusion I think is ultimately irrelevant as it is after the fact.
2 minutes ago, ZeldaTheSwordsman said:2. The thing about the Star Forge is that Revan abruptly abandoning the Sith and the Star Forge is consistent with neither the implications of the first game's Dark Side ending (the wickedly triumphant return of Revan the conqueror, Star Forge at their disposal and poised to take the galaxy) nor what this game tries to retcon Revan's goal to have been (toughen the galaxy up and build up military in preparation for a nastier outside threat). Having reclaimed the Star Forge, Revan would then abruptly abandon it instead of resuming the original agenda because...?
I kind of agree with this one, but no one can say with certainty what any one person would do in any given situation, there could be a reason to shy away from being the centre of attention in the galaxy for a while.
It certainly could be possible to tie the two games together a bit better, but major changes to the dialog is a tricky thing to do.
-
 1
1
-
-
5 minutes ago, ZeldaTheSwordsman said:The game doesn't explicitly encourage you, no. The encouragement comes from the experience of the game basically punishing you for not refraining. It is encouragement in effect.
But never mind this thread anyway...
It only punishes you, from a certain point of view. ( namely the view of someone who has played it before )
P.S. I am taking your suggestions seriously and trying to consider them in the context of the worlds as I understand them and the games, I would also happily point you in the right direction and make suggestions for making these sorts of edits, I am also trying to take on-board suggestions from the community at the moment for improving both games. -
6 minutes ago, ZeldaTheSwordsman said:And you know, I did specifically say that you're encouraged to refrain from leveling up too much while on Taris. Not that you're encouraged to refrain from leveling up at all, just encouraged to refrain from leveling up too far too soon.
At no point does the game suggest you do not level up, therefore there is no encouragement to refrain from levelling up too far too soon.
I think you are mis-remembering it to be honest, I remember it being tough but I remember it also being a satisfying challenge to complete, it is also a challenge that not everybody takes on, which I think is also part of the point, not everyone does all the side quests for various reasons. Be it that they have done it before or they don't have the time, or that they just don't want to.
Personally I like to do them and I like them to be challenging, if you can find something in the game that truly encourages you to refrain from levelling up, I would like to hear it because I am confident that there is no such suggestion or encouragement, other than that which comes from online guides or people who have already played the game.
-
1
-
-
17 minutes ago, ZeldaTheSwordsman said:6. The inconsistency is that the dialogue in KotOR 1, sparse on info though it is, implies an intense but straightforward battle, not a battle where the Republic resorted to a cataclysmic superweapon to turn the tide. "The Republic broke our ranks" does not really paint a picture of "The Republic used a gravity crush superweapon that wrecked their own fleet almost as bad as it wrecked ours"; it paints a picture of Republic troops and/or ships battering their way through the Mandalorian lines.
I took those to be two separate battles, but maybe I read it wrong. Considering info is spare as you say maybe we are both reading it wrong.
1 : Considering the character was on their way to the Star Forge, going to the closest planet to the Star Forge, might have made some sense, rather than darting off to the other end of the galaxy.
As for the Star Forge, I don't think it really needs any mention of what happens to it or who might control it, I thought that was all meant to be a part of the end and your own imagination as to where you think the story truly goes from there. It is also made to be quite clear that no one even knew what happened, or only knows vague details that have spread across the galaxy like wildfire but likely remained inconsistent with the truth.
From a certain point of view! lol
")
-
1
-
-
4 minutes ago, ZeldaTheSwordsman said:No, you're still effectively encouraged to refrain from leveling up too much. Because bonus Force points or no, if you don't refrain you get gimped on Force Power progression. I say this as someone who was once Level 12 before leaving Taris.
You are certainly not encouraged to refrain from levelling up, considering the Endar Spire forces you to level up once ( mainly to teach you I guess ), but no one would have known prior to playing it that doing it this way would have gained you extra force power progression meaning that it is an after-play tactic.
I myself remember being a high level leaving Taris the first time I ever played it, the Arena is meant to be a challenge, defeating the final opponent is not meant to be easy and nor is getting to them.
As suggested it would be easy to do this by either altering the module or just adjusting the difficulty slider, definitely don't think it's something that needs modding into the game.
That's just my opinion though, if you think it is that worth doing grab ERFEdit and K-GFF editor and dive into the level to alter the characters stats.
-
Blue Kotor-Like GUI
I recently made this GUI with the help of a tool created by another user that should see a release soon, I also automated the colour correction of all of the icons that were not already in the first game.
Slowly I have been finding every last texture that is involved in the GUI's operation as well as the appropriate colour values in their .gui files.
They aren't the best / don't match the other icons very well, but I will work on it again in the future as well as release it on it's own.
Thor110
This should work for the base game and most variations, if not let me know. The only unnecessary entries that I can think of might be the planets on the galaxy map but they will now show unless scripted to do so, so it should not cause any problems. These .gui files are based on the base game's .gui files so might not contain any changes made in any other mods such as TSLRCM ( I am not sure how much the .gui's are altered )
-
Submitter
-
Submitted01/07/2021
-
Category
-
TSLRCM CompatibleNo
-
1
-
-
20 minutes ago, ZeldaTheSwordsman said:I realize this is a huge undertaking, and not everyone will feel the same way I do about the narrative... But I feel it would be worth doing.
I am not sure I would call all of TSL's writing crap, but it's definitely lacking here and there.
Honestly I would say if you wish to go through 130,000 lines of dialog and improve them, rewriting them as well as finding a way to fix the Audio around them, crack on. Or otherwise good luck finding a team do so, I myself have had thoughts of changing all sorts of things, though I cannot say that the writing was heavily one of them, other than perhaps typos or out of place lines.
There is also one huge thing to consider, which is compatibility and interest, compatibility for something like this will be practically non-existent and I suspect interest would be lacking also, though I can also say that on the other hand if done right interest would be huge, so all in all good idea, huge undertaking, I would say make a start on it, or form a team and make a start on it, or start by heavily improving the writing of just a single area in the game to showcase your suggested improvements.
-
4
-
-
4 minutes ago, DarthParametric said:They also work on triggers as well. It's common practice to set a local on a trigger the first time it fires. Gives more flexibility than outright destroying it for cases where you might want to reuse it.
All of K1's random loot placeables use locals in their heartbeat scripts to stop them respawning (although Obsidian added a new function for TSL to just remove the script altogether after firing, to cut down on overhead on the Xbox).
K1 makes extensive use of module locals for various quest states via the module includes.
Good to know and incase anyone else is following this, I looked up : https://deadlystream.com/topic/3201-kotor1-local-booleans/
Which could be handy for people and that they are found in "k_inc_generic" for TSL I had simply forgotten as I haven't really used them yet, though I have known for a while that I really should start doing so.
-
4 minutes ago, DarthParametric said:TalkedTo isn't anything special or unique. It's just local boolean constant 10. They added an extra utility function for it, but under the hood it's still just Get/SetLocalBoolean. If you want to use the strings and the functions for them outside generic scripts, you'll need to set k_inc_utility as an include.
Perfect response, thank you and good to know that it can be used on placeables also.
-
6 minutes ago, DarthParametric said:You can set a local on a placeable or even the entire area. It's not limited to creatures.
Does that include the talked to flag? To be quite honest, I haven't found a list of the local variables as reference yet, or are you just talking about a variable? As I know there is that large list of numbers that refer to local variables, however I do not know where they are right this second, I think in a 2DA iirc but I am not sure, perhaps you could point me and this newer user towards it?
-
2 minutes ago, TamerBill said:Like most things in scripting there's more than one way to skin a fish.
Local variables are stored inside each object, while global variables are stored in the save file. If you wanted to have something later in the game check to see if you ever read that datapad then you'd need a global. If it never comes up again then you could get away with using a local.
You can also just check if they have the datapad in their inventory
8 minutes ago, Obi Wan Pere said:Work as well with placeables? that is my case.
Ah I doubt it / am not sure, I forgot you are working with a placeable, by the sounds of it you might be better off with a new global variable and making sure to continue using that variable more than once. ( depending on the extent of your use or need for the variable anyway )
-
1
-
-
26 minutes ago, Obi Wan Pere said:First of all is needed add a variable to the Globalcat.2da file (open it with the 2da Editor of Kotor Tool) and at the empty boxes type a subsequent number, a whatever name you want to identify the variable and type Boolean. (Selfexplanative when you see the file open).
You could just use k_con_talkedto.nss for the conditional, it is a global script to check whether or not you have talked to that NPC before, meaning that tree of dialog can only be accessed once. ( if applicable in this situation ) it uses the talked to flag on the NPC.
-
Currently I have changed entries to match the specified delay for the kodin.dlg that is widely known for doing this, I will continue to test it over and over again to see if it occurs however I could not get it to occur beforehand anyway.
As this other issue is dialog related that I have been trying to solve for sometime I thought I would post about it here as well to hopefully get some discussion going on both dialog related issues.

The above image shows the issue which sometimes happens in levels, recently I came across a custom level that was reproducing the bug 100% of the time when entering the level and I compared it against another .dlg file ( kodin's actually ) and discovered that it was missing the NextNodeID, adding this in for the custom level fixed the issue of the top part of the border not coming down.

Removing this entry, would also cause it to happen in the custom level, adding it back in would also fix it and I verified this multiple times.
I have come across a few levels in the main game that do this almost every time, for me at least this is the Harbinger Sion Cutscene and the dialog with atton when you reach the Hanger on Peragus and he complains about it being locked and possibly a few others.
Considering that it is now a reproducable bug as well as a fixable bug, at the least for a custom level, I am almost certain that this can be fixed anywhere else it can be found throughout the game. ( however so far I have not had any luck with this level )
I will also be documenting any dialogs I come across that have the skipping issue and testing the proposed changes for those.
Thor110
Update :
Though I have not been able to fix it with the above level yet, I have fixed it in another main game level. It seems having the wrong NextNodeID set ( which I believe is meant to be 0 or 1 or whatever the starting NodeID is to the .dlg file ) causes this issue.
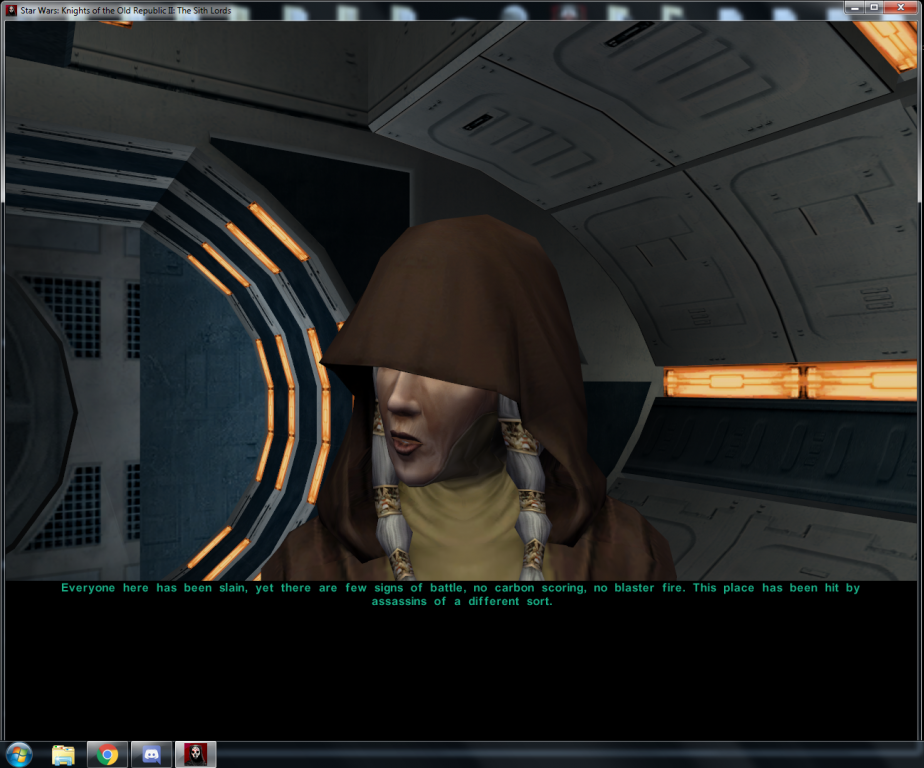
In this dialog it was set to 25, setting it to 1 which is the NodeID of the first line of dialog Kreia speaks fixed it.

Hopefully this can lead to all of these dialog issues being fixed for the game.
QuoteCan't say anything about your proposed changes, though. However, 0xFFFFFFFF is often used as a sentinel value of sorts, so it might be there's some other functional difference between delay 0 and delay 0xFFFFFFFF in the game. In either case, the solution should of course be properly tested.
Is it not possible this value is already recognised as something in the game?

-
Ah I didn't really think about that part as I thought it was either similar or not too dissimilar to figure out, my bad! But thankfully someone has got you the answer.
1 hour ago, Obi Wan Pere said:Edit. BTW!!!! your 'KotOR Modding Tutorial Series' has been one of those very useful!!. And a lot of things that I hope can do in a close future.
Good to know they have been helpful, I hope to write more in the future so let me know if there are any topics I can cover.
-
1
-
-
58 minutes ago, Obi Wan Pere said:...and someone can explain how make dissappear a NPC and dissappear fading out?
Thanks in advance
Check out the tutorials section there are some fairly detailed ones in there as well as some simpler ones.
Yes you create a .dlg file, link it in the conversation field of the .utc file, dialogs basically are cutscenes, so .dlg files are used to structure cutscenes.
below is an example of a script I use to start a conversation with the lead rodian of the next example who just left that level.
Spoilervoid main() {
if(GetGlobalNumber("SLE_FIREBLOODS") == 1)
{
object oEntering = GetEnteringObject();
if ((!GetIsPartyLeader(oEntering))) {
return;
}
object oRodian2 = GetObjectByTag("rodian2", 0);
AssignCommand(oRodian2, ActionStartConversation(oEntering, "fireblood", 0, 0, 0, "", "", "", "", "", "", 0, 0xFFFFFFFF, 0xFFFFFFFF, 0));
DestroyObject(OBJECT_SELF, 0.0, 0, 0.0, 0);
}
}below is an example of a script I use to have four rodians leave the area and dissapear when they get to the door.
Spoilervoid main() {
object oRodian2 = GetObjectByTag("rodian2", 0);
object oRodian1 = GetObjectByTag("rodian1", 0);
object oRodian3 = GetObjectByTag("rodian3", 0);
object oRodian4 = GetObjectByTag("rodian4", 0);location location1 = Location(Vector((0.1), -14.1, 0.1), 0.0);
location location2 = Location(Vector((0.1), -11.5, 0.1), 0.0);
location location3 = Location(Vector((-12.6), -10.5, 0.1), 0.0);vector struct4 = Vector(0.1, -15.5, 0.1);
location location5 = Location(struct4, 0.0);AssignCommand(oRodian1, ActionMoveToLocation(location1, 0));
AssignCommand(oRodian3, ActionMoveToLocation(location1, 0));
AssignCommand(oRodian4, ActionMoveToLocation(location1, 0));AssignCommand(oRodian2, ActionMoveToLocation(location3, 0));
AssignCommand(oRodian2, ActionMoveToLocation(location2, 0));ActionDoCommand(SetCommandable(1, oRodian2));
ActionDoCommand(SetCommandable(1, oRodian1));
ActionDoCommand(SetCommandable(1, oRodian3));
ActionDoCommand(SetCommandable(1, oRodian4));
AssignCommand(oRodian1, ActionMoveToLocation(location5, 0));
AssignCommand(oRodian3, ActionMoveToLocation(location5, 0));
AssignCommand(oRodian4, ActionMoveToLocation(location5, 0));
AssignCommand(oRodian2, ActionMoveToLocation(location5, 0));
AssignCommand(oRodian4, ActionOpenDoor(GetObjectByTag("sle99_exit01")));vector struct5 = Vector(0.1, -17.5, 0.1);
location location6 = Location(struct5, 0.0);AssignCommand(oRodian1, ActionMoveToLocation(location6, 0));
AssignCommand(oRodian3, ActionMoveToLocation(location6, 0));
AssignCommand(oRodian4, ActionMoveToLocation(location6, 0));
AssignCommand(oRodian2, ActionMoveToLocation(location6, 0));AssignCommand(oRodian1, ActionDoCommand(DestroyObject(oRodian1, 0.0, 0, 0.0)));
AssignCommand(oRodian3, ActionDoCommand(DestroyObject(oRodian3, 0.0, 0, 0.0)));
AssignCommand(oRodian4, ActionDoCommand(DestroyObject(oRodian4, 0.0, 0, 0.0)));
AssignCommand(oRodian2, ActionDoCommand(DestroyObject(oRodian2, 0.0, 0, 0.0)));ActionDoCommand(SetCommandable(0, oRodian1));
ActionDoCommand(SetCommandable(0, oRodian3));
ActionDoCommand(SetCommandable(0, oRodian4));
ActionDoCommand(SetCommandable(0, oRodian2));SetGlobalNumber("SLE_FIREBLOODS",1);
}It has all four of them walk through a set of locations before they get to the door, then has the lead rodian open the door as well as destroys them making them dissapear.
Hopefully that helps or gives you some examples to work with, but there are some decent tutorials available worth checking out.
Note : everything here is scripted for K2, so there may be slight differences to apply before it will compile.
Thor110
-
 1
1
-
-
Is it just me or could you not just set the refresh rate of your monitor in windows before playing the game?
-
1
-
-
2 minutes ago, Ashton Scorpius said:If you click on "Header" under the model hierarchy, it lists the supermodel.
Ah, I also noticed I can find it in a HexEditor near the top and realised why it wasn't converting because one uses Supermodel03 and the other uses the model that uses Supermodel03.
Thanks for your help
-
28 minutes ago, Ashton Scorpius said:Kind of a lengthy explanation, but let me know if this works out for you.
I was wondering, do you perhaps know the way to determine what supermodel a model should use? I myself just tried to follow your instructions, but no matter the supermodel I put into the folder it doesn't accept it.
Though I am not trying to port this mod, I am looking at porting another. ( however I thought to avoid details and try to follow your instructions as I have been needing to convert a lot of models myself )
-
2 hours ago, Dodo00d said:How do I need to rename those files in order for them to replace the sentinel clothing?
You won't be able to just rename the files, the models will need either converting or recompiling using the K2 supermodel.
Thor110
-
6 minutes ago, ZeldaTheSwordsman said:I read the rules before posting this. See that part I highlighted? That's why I went ahead with posting this thread. How a "No CD" crack for a game you actually goddamn legally own not fall under that?
I went with what I thought was best as a reply, sorry.
As somebody mentioned above you might be ok with the editable executable from this site, I am not sure as I have not used it.
I would rather not break any rules on this website, however I understand that you stated that you own the original game and fully intend to use it as legit as the site's rules themselves state should be the only way to do so, but I am not sure to what extent that first part truly applies to just discussion on the matter.
As one one hand it says they might host them, but on the other hand it say's you can't even discuss them. I believe that means we can't or at least shouldn't discuss them but the site themselves can make a decision on whether or not to upload such content. ( that is how I interpreted that rule anyway )
-
1
-
-
13 minutes ago, ZeldaTheSwordsman said:Hopefully someone who does can tell me.
https://deadlystream.com/topic/7454-deadlystream-forum-rules/
8. Illegal Material
"Do not discuss or post links to illegal material or discuss where to obtain illegal material (i.e. where to get illegal cracks, etc.). Do not post magazine scans and other copyrighted material. This is prohibited. Discussions about how to perform activities that are illegal in the US are also prohibited (i.e. torrents to acquire the games illegally, etc.).Deadlystream may at times host files that circumvent DRM; in these instances, these files are only to enable the normal and legal use of the games they are made for. In all instances you must own the content you are using, and Deadlystream does not condone, promote, or enable piracy. Discussion about piracy is strictly prohibited."
Unfortunately the best I can do is point you to the rules.
-
47 minutes ago, ajdrenter said:I don't have any issues with multiple instances of the application open at once.
One problem I've had is that scrollbars all have the same coordinates and size, like they are all shown with the same attributes of the first one listed. This makes it a bit annoying to adjust them.
Good thing you said, I checked again it seems that the second instance just stalls a fair bit more than the first so I am just impatient it seems
-
This is a great tool! Really handy to be able to see the menus and their contents using a folder of the gui textures and .gui files, one thing I have noticed is that the program cannot be opened twice.
Which could prove useful for my project and other people for transferring values from one file to another though actually I could just use K-GFF editor + this in order to easily transfer values for my project but I am not sure which way I will do it yet.
Thanks for the awesome tool!
-
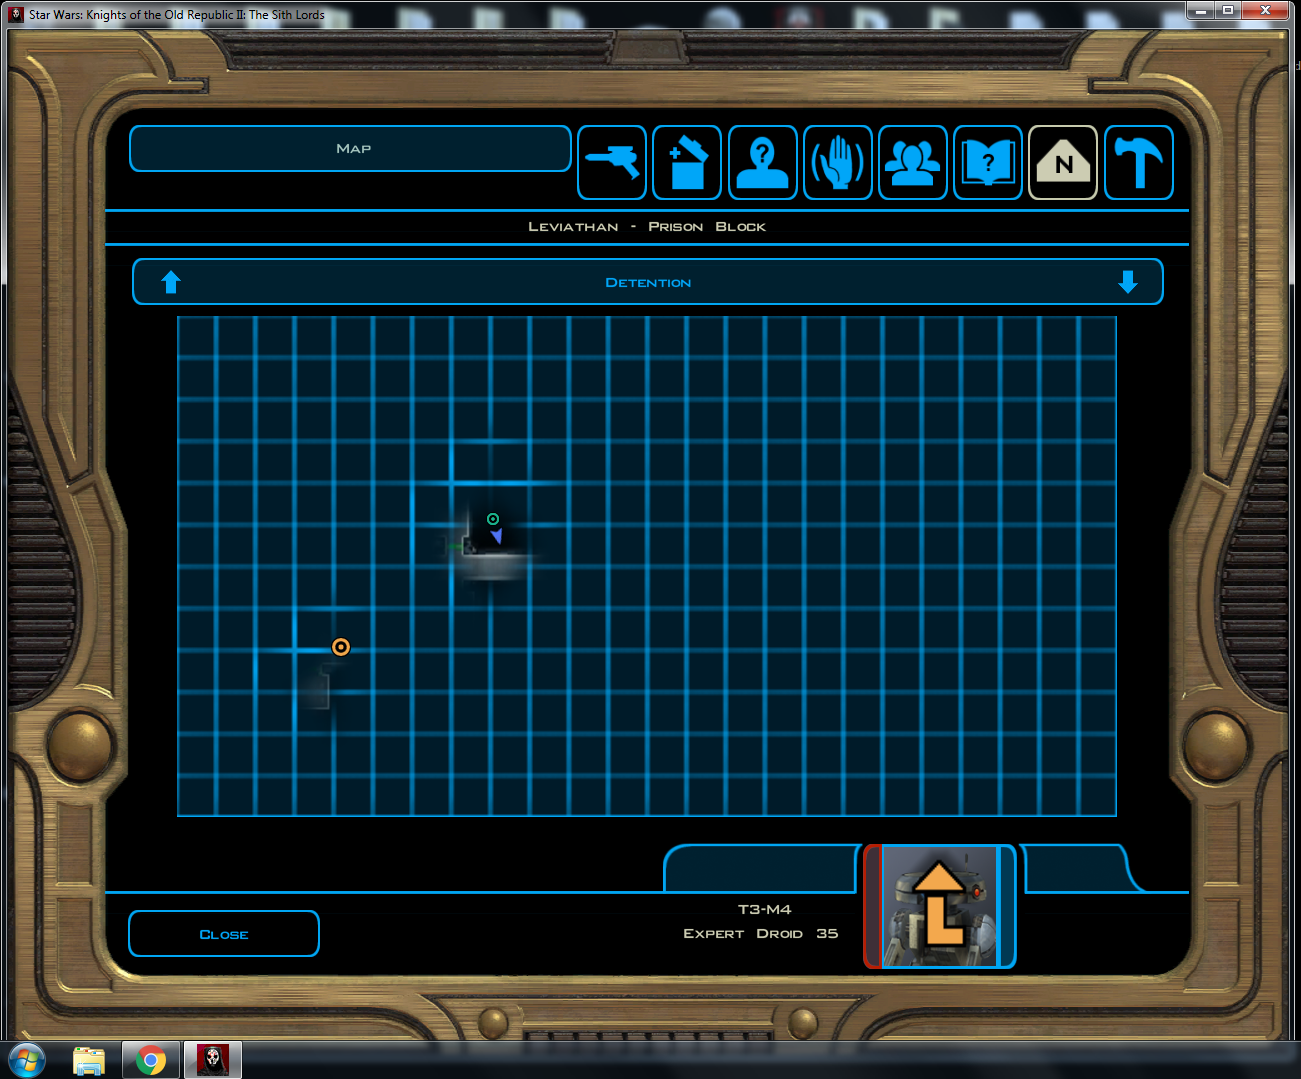
There are quite a few around the games levels, I made a pack that fixes any left in the second game : https://deadlystream.com/files/file/1706-visibility-file-fixes/
But I realise this is the first game, however if it annoys you like it did me perhaps you will require fixes for TSL in the future also :)-
1
-
1
-


Proposal: Writing Overhaul for TSL
in Mod Requests
Posted
Controversial projects are my speciality and it's not that no-one cares, I think a few people have put quite some effort in to their replies.
Unfortunately everybody has a different view on both what the games stories actually are, represent, mean to them and how they interpret each and every aspect of the story which means that when discussing something like this, it is almost inevitable that everyone will be at odds or in conflict about certain key points somewhere along the line.
You have raised some interesting points I think and certainly many that I have heard raised before and perhaps even a few that I have thought about myself, but I definitely feel after playing it through in recent years that it started to make a lot more sense to me, especially with TSLRCM.
Yes it's not perfect, yes it's not what Bioware might have made, but it is what we ended up with.
Have you played TSLRCM and been through all of Kreia's deep conversations? I remember there being some key points about why Revan left his place at the helm of the Star Forge. Nothing specific but enough to satisfy me, though I could be remembering it wrongly myself, this is one of the problems discussing these things. ( As I remember it, Revan went to look for something on the outer edges of the galaxy, that is good enough for me ) as good or bad, seeking something powerful or hidden is almost always worth it. Especially if it could be something related to the force.
Before settling on anything like this, I would suggest re-playing both games to make sure that there aren't any small details that I, you or anyone else has forgotten or missed out on.
It could be interesting and no one is telling you not to do it, just raising what we think are key points in relation to the points you have raised.
Thor110