


tjsase
-
Content Count
115 -
Joined
-
Last visited
-
Days Won
15
Posts posted by tjsase
-
-
Hey, not sure if it's been brought up before, but be aware of color management. Because the 2.2 gamma curve that monitors have, most games before 2010 render in a colorspace where light loses intensity too fast. KotOR renders in-engine content with that curve, whereas photoreal-rendering operates in linear space with much more light range. If you're trying to recreate the look of in-engine content, you need to render with color management off. If you want light to behave realistically, you need to use color management.
This link has a helpful breakdown of how gamma messes with rendering. I only really got this concept about this a month ago!
https://developer.nvidia.com/gpugems/gpugems3/part-iv-image-effects/chapter-24-importance-being-linearYour work is terrific by the way, you're committed to getting all the subtleties looking just right
-
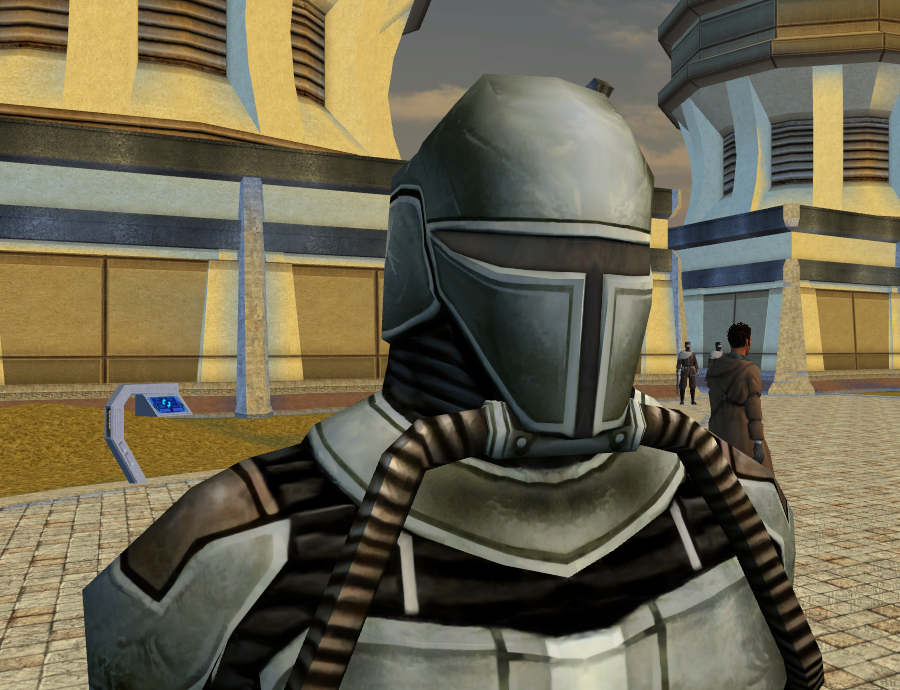
HD Mandalore Upscale
DESCRIPTION
This is an HD reskin of our driven mandalorian, Mandalore. This texture is now 2048x2048, A.I. and manually-upscaled and incorporating downloaded textures. I constantly checked my work against the 3D model to ensure there were no texture seams. I made sure to remain as faithful to the original texture as possible while adding a few details of my own.INSTALLATION
Click the "Start Patching" button down below.UNINSTALLATION
Move the files from the newly created "backup" folder to the KotORII "override" folder.THANKS
Thanks to GIMP, wildtextures.com, Blender, KotORTool, KotORBlender, mdlops, and the KotOR Savegame editor.Special thanks to Red11BY for his Character Overhaul pack (https://www.nexusmods.com/kotor2/mods/1060?tab=files).
Mod by tjsase. Feel free to include this mod in modpacks so long as you credit me and link back to the original download page.
-
Submitter
-
Submitted12/26/2019
-
Category
-
TSLRCM CompatibleYes
-
-
Much of this tutorial is depreciated, as I've found better tools. Namely: the Warp tool in GIMP, set to Shrink Area. This allows you to draw where you want the lines to sew together.
-
 2
2
-
-
This mod is TSLRCM compatible, I fixed that mistake
-
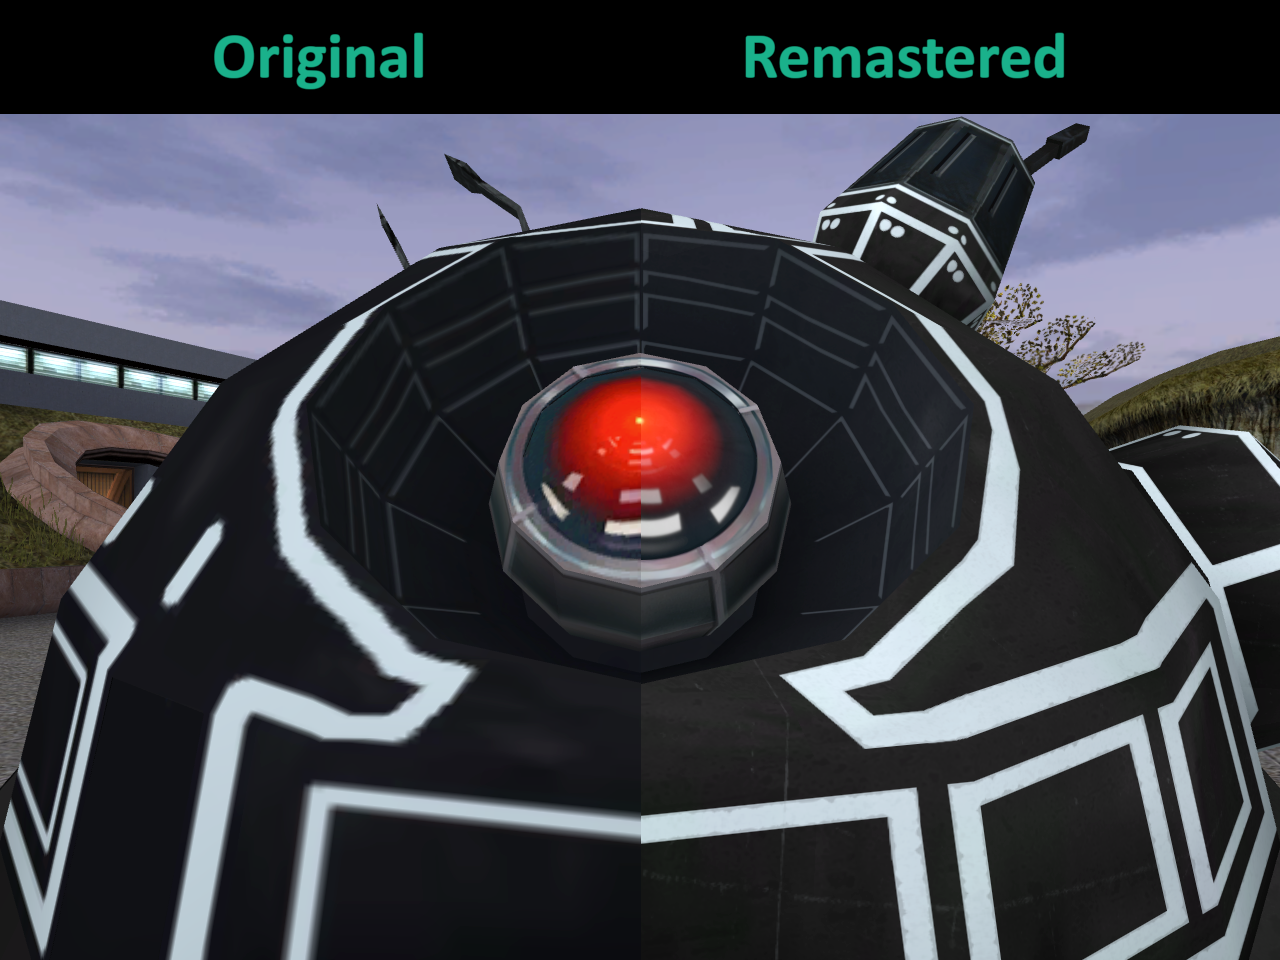
HD G0-T0 Upscale
DESCRIPTION
This is an HD reskin of our aloof crime lord Goto's droid, G0-T0. This texture is now each 4096x4096, manually-upscaled and incorporating downloaded textures. I constantly checked my work against the 3D model to ensure there were no texture seams. I made sure to remain as faithful to the original texture as possible while adding a few details of my own.INSTALLATION
Drop the P_Gt file into the "override" folder of your KotOR II installation.UNINSTALLATION
Remove the P_Gt file from the "override" folder of your KotOR II installation.THANKS
Thanks to GIMP, wildtextures.com, Blender, KotORTool, KotORBlender, mdlops, and the KotOR Savegame editor.Special thanks to Red11BY for his Character Overhaul pack (https://www.nexusmods.com/kotor2/mods/1060?tab=files)
Mod by tjsase. Feel free to include this mod in modpacks so long as you credit me and link back to the original download page.
-
Submitter
-
Submitted12/18/2019
-
Category
-
TSLRCM CompatibleYes
-
1
-
-
M4-78 Uncompressed Movies
Since the cutscenes for the KotOR games are being upscaled, I thought I'd provide my M4-78 EP movies, sans the Bink compression to assist in this.
As a bonus, I've included a brief cutscene I was requested to make a number of years ago, in which a battle-hardened Harbinger approaches the planet and passes over the central zone, just in case anyone finds it useful.
-
Submitter
-
Submitted12/13/2019
-
Category
-
-
HD Astromech Upscale
DESCRIPTION
This is an HD reskin of our loyal astromech droid T3-M4, as well as the rest of the astromech droids. Their textures are now each 2048x2048, each ai-upscaled and manually retouched. I constantly checked my work against the 3D model to ensure there were no texture seams. I even added an environment map to enhance the look of the brushed metal. I made sure to remain as faithful to the original texture as possible while adding a few details of my own. This mod should be compatable with both KotOR games, though T3-M4's texture will go unused in KotOR.INSTALLATION
Drop all the .tga or .tpc files into the Override folder wherever KotOR or KotORII is installed.UNINSTALLATION
Delete the previously installed files.THANKS
Thanks to the makers of KotORTool, ESRGAN, GIMP, mdledit, KotORBlender, Blender, and the KotOR Savegame editor.Mod by tjsase. Feel free to include this mod in modpacks so long as you credit me and link back to the original download page.
-
Submitter
-
Submitted12/13/2019
-
Category
-
TSLRCM CompatibleYes
-
-
Thank you!! I'm making skins for both games and I don't have the time right now to play through just to test a few textures.
-
Version 1.1.1: Added download in TPC format
-
Version 1.0.1: Added download in TPC format
-
Version 1.0.3: Added download in TPC format
-
Could be done with AI upscaling, I might take a look at that in a while. You're talking about the Telos shuttles, right?
-
WOW I haven't seen anyone successfully make custom animations in KotOR (or I'm just out of the loop). Terrific work!!
-
1
-
-
As a fan of FLW I'm happy to see his work in this mod 👌
-
 1
1
-
-
Mod has been updated to version 3.1. So far, I've added an upscaled version of the Ebon Hawk's outer hull and I've provided a download of the textures in TPC format, which is 1/4th the size and download time.
-
1
-
-
Mod has been updated to version 3.0
-
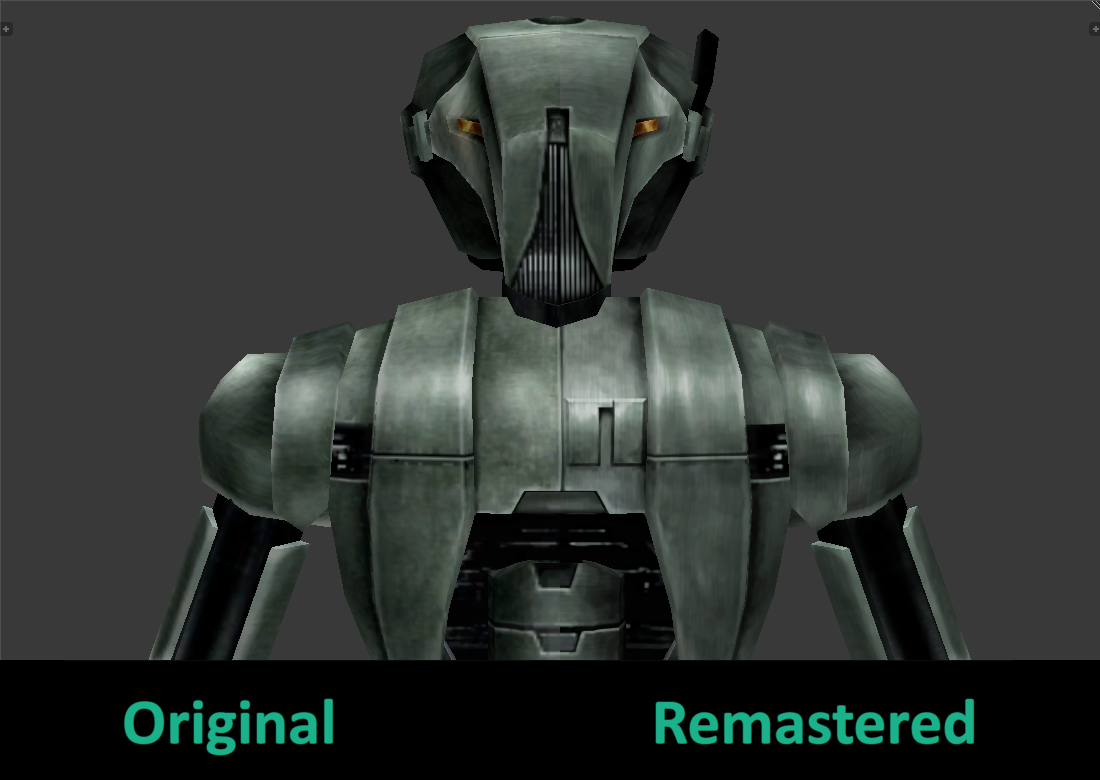
HD HK Upscale
DESCRIPTION
This is an HD reskin of our fierce assassin droid HK-47, as well as HK-50 and HK-51. Their textures are now each 2048x2048, each manually-upscaled and incorporating downloaded textures. I constantly checked my work against the 3D model to ensure there were no texture seams. I even added an environment map to enhance the look of the brushed metal. I made sure to remain as faithful to the original texture as possible while adding a few details of my own.If you're looking for an HD reskin for the KotOR I version of HK-47, check out "Quanons HK-47 Reskin" (https://deadlystream.com/files/file/1001-quanons-hk-47-reskin/).
INSTALLATION
Run TSLPatcher.exe.UNINSTALLATION
Move the files from the newly created "backup" folder to the KotORII "override" folder.THANKS
Thanks to GIMP, wildtextures.com, Blender, KotORTool, KotORBlender, mdlops, and the KotOR Savegame editor.Mod by tjsase. Feel free to include this mod in modpacks so long as you credit me and link back to the original download page.
-
Submitter
-
Submitted10/22/2019
-
Category
-
TSLRCM CompatibleYes
-
-
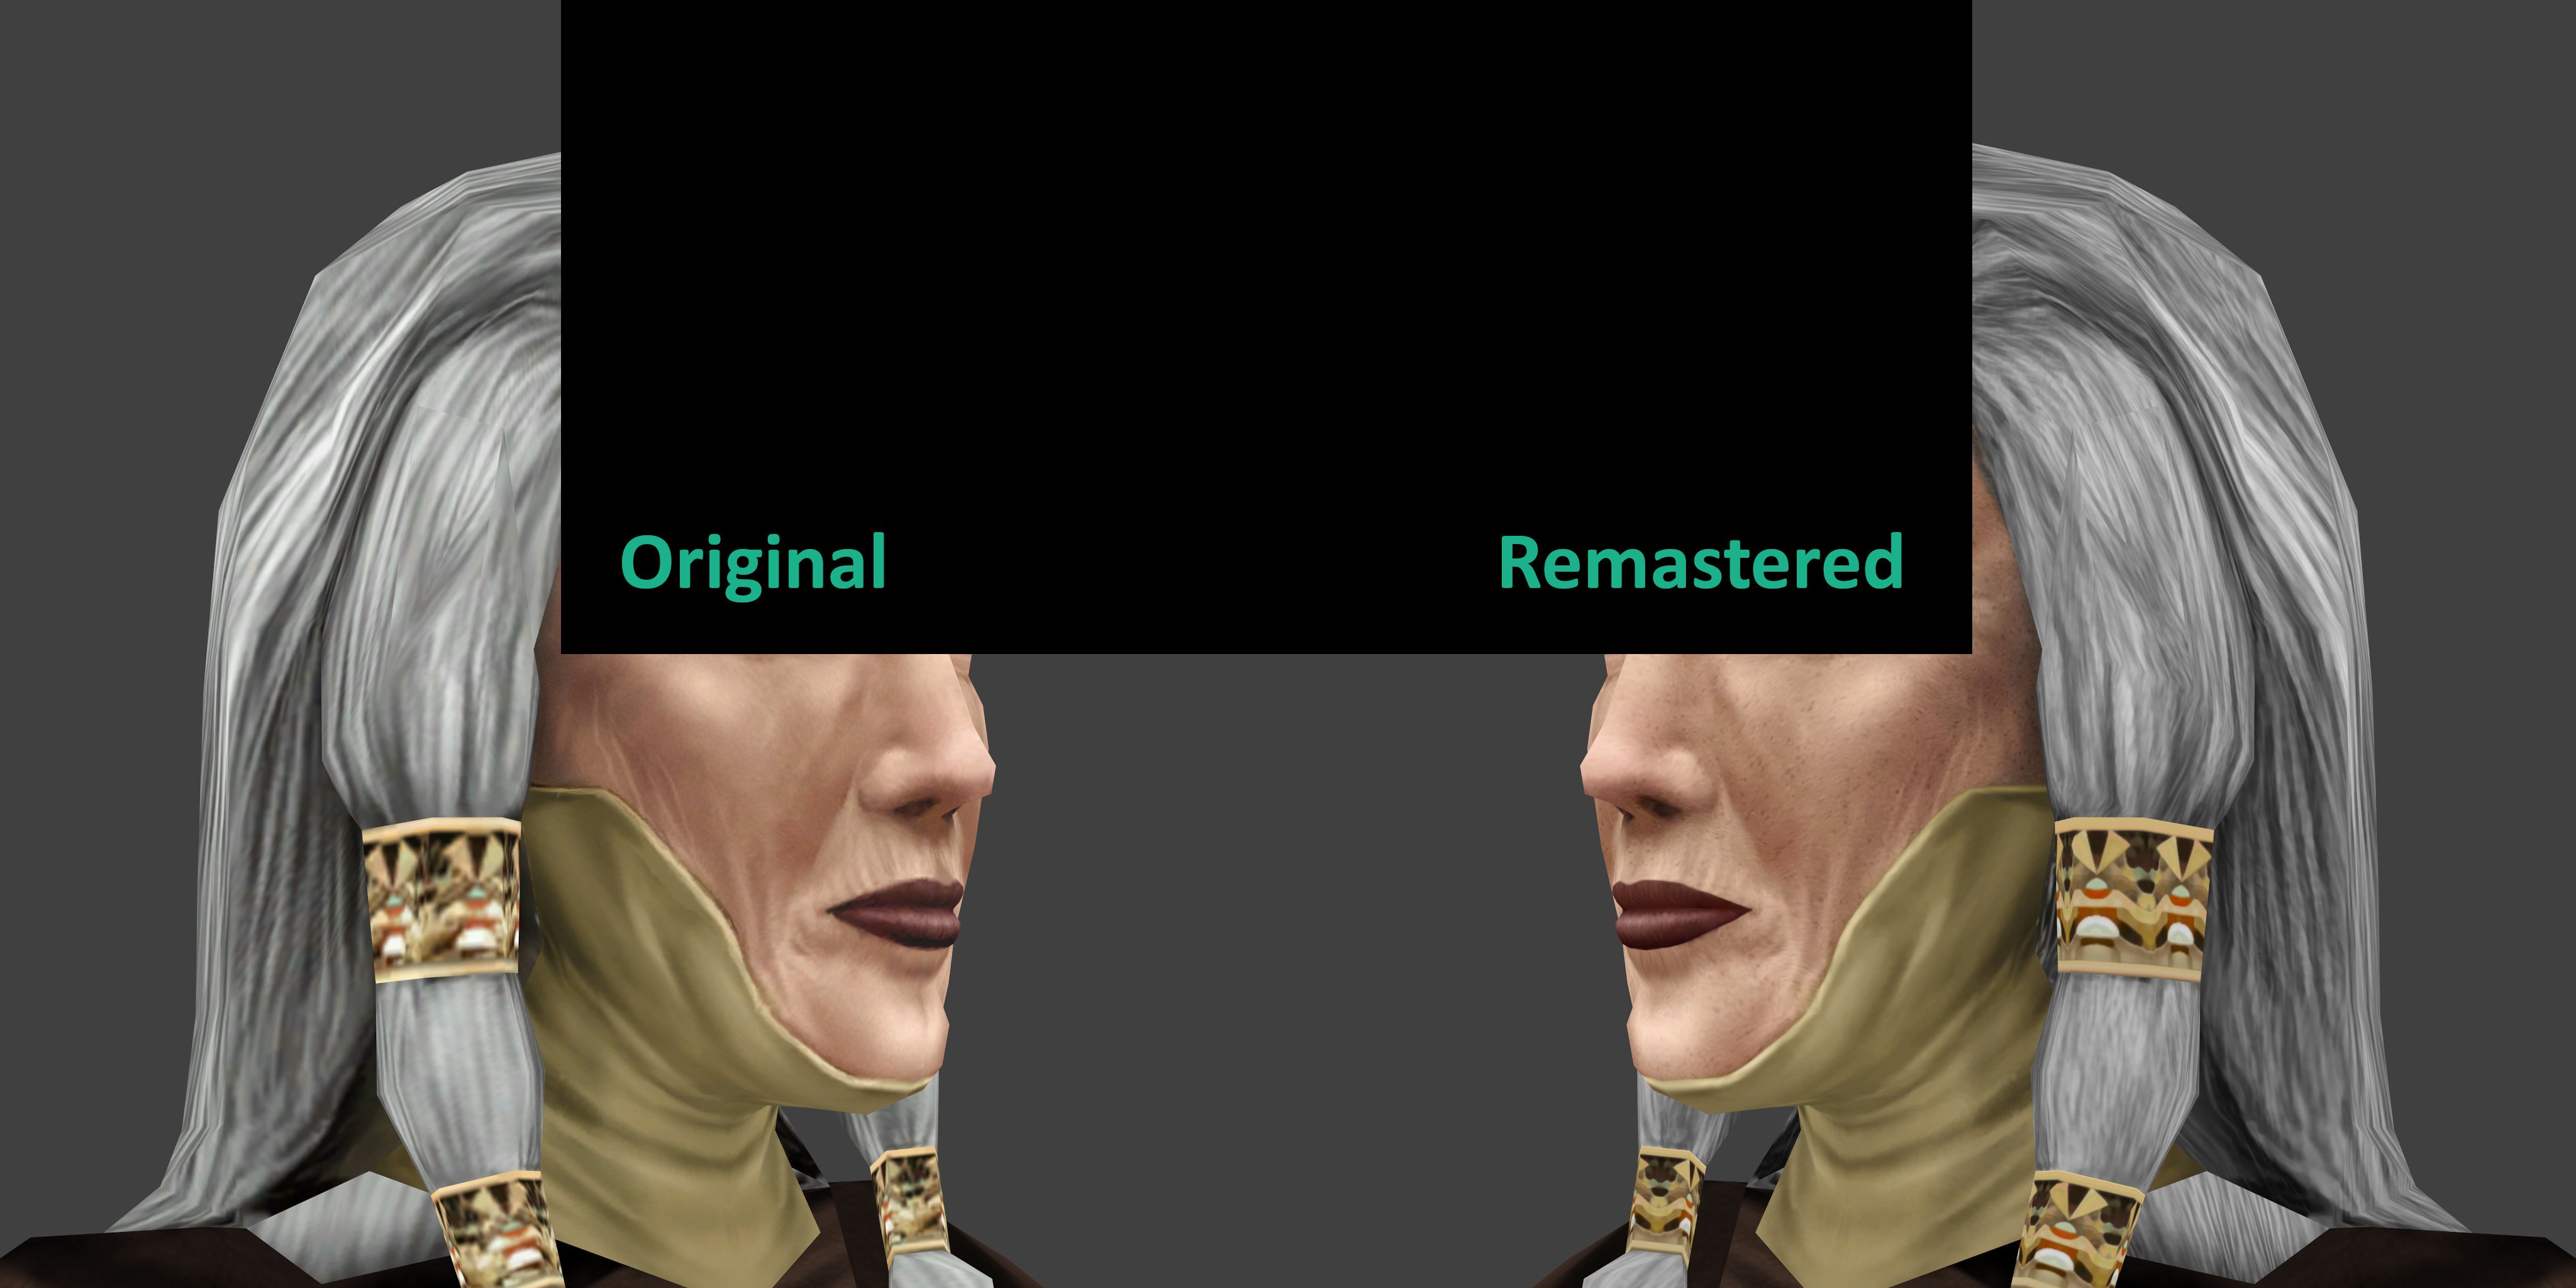
HD Kreia Upscale
DESCRIPTION
This is an HD reskin of our cryptic mentor, Kreia! The textures for her body and head are now 2048x2048, and utilizes manually-upscaled edges and photographed textures. I consistently checked my work against the 3D model to ensure there were no texture seams. I even added an environment map to allow Kreia's metal braids and eyes to shine, similar to her incarnation the beta version of TSL. I made sure to remain as faithful to the original texture as possible while adding a few details of my own.INSTALLATION
Drop the .tga and .txi files into the Override directory of you SWKotOR2 installation folder.THANKS
Thanks to GIMP, Blender, KotORTool, KotORBlender, mdlops, and the KotOR Savegame editor.Mod by tjsase. Feel free to include this mod in modpacks so long as you credit me and link back to the original download page.
-
Submitter
-
Submitted10/03/2019
-
Category
-
TSLRCM CompatibleYes
-
-
I might eventually do a V3 once I figure out how to get the window texture to render over the skyboxes properly. The main difference between V1 and V2 is the increased dynamic range. In V1, the brightest color any skybox could be was 50% gray due to the model's material being dim. Another change of V2 is increased accuracy compared to the game's modules. The only reason I animated hyperspace is because the vanilla animation was broken when I edited the ASCII model file for the skyboxes (restoring that will be V3, though I'll probably need a break to focus on college, hopefully not too long since this semester I hit the ground running)
-
-
Peragus is FINALLY close to done! This one took a lot of model extraction and light matching, but it was all worth it. Now I just gotta double-check the other skyboxes and it should be close to done!


-
9
-
-
Atton Sleeve Upscaling
Of course, the details between the edges are just as important as the sharp edges themselves. Let's take a look at my HD
re-texture of our beloved smuggler, Atton.

Boy, this part needs work! This section is both shoulders of Atton's ribbed jacket. As you can see, the resolution
reduction and compression got rid of much of the leather detail and aliased the edges. Here, I've already lightly filtered
this section using a Median filter and recolored it to remove some color splotches. Since the colors are mostly flat with
low detail, let's smear these suckers.

When smearing across multiple polygons, it's important to alter the selection to match both the original edge and the
topology of the model to avoid any crooked or bend edges.
Now let's add a bit of detail. Browsing through texturelib.com, a site full of useful and free textures, I found a
photograph of a crumpled piece of paper that looked pretty good. I decided it could serve as a bumpmap for this leather. I
placed it in the scene, desaturated it, and applied a high pass filter with a reasonable filter radius. However, the
raised edges of the jacket would look rather flat, so I had to incorporate my new edges into it. I filled the shape of the
raised edges with white on top of the paper texture and used the Lighting Effects filter to generate a raised texture.

And then, compositing as Soft Light...

Pretty good, but it was lacking something... maybe some leather cells? Or perhaps I could utilize a bubble texture!

Now THAT is a texture! Don't worry about the sloppy edges, as they're outside the bounds of the model.
Advanced Techniques
Sometimes it's helpful to use some real world material to enhance the realism, especially on human characters.

Yup, that is my actual thumb! All of my nail-bitten fingers made it in, front and back. Checking the wireframe guide, I
carefully distorted and stretched each finger to match each joint with the polygon edges. This section is a great example
of cylindrical textures, in which the texture is split along an edge to be unwrapped. Consider the map of the world, in
which going off one edge leads back to the other, while in 3D you cross a single edge. Same thing with textures. This can
cause unsightly seams where the edges meet, so it is important to keep both edges consistent, checking the model and
subtly painting the edges until they just nearly match. Sometimes, some details have to be distorted to allow the texture
to flow to an entirely different section across the map.
Occasionally, bad UV mapping creates seams that require slight manipulation to compensate for. Take Atton's pouch for
instance:

I say, what is with that ghastly thorn? I drew that in to compensate for an error in the UV mapping.

As you can see, the faces don't quite line up perfectly, so compensation was necessary.
Many times, some details will be so blurry you have no idea what they were supposed to look like. In this case, artistic
license is required.

The buttons and raised bumps were drawn entirely in the computer, as both were a jumble of blurry nonsense, heck each
button was only a pixel or two!

This shot demonstrates many of these techniques. Smearing was done on the border of the shirt and the flap while redrawing
enhanced the edge between the shirt layers. The curved, red shapes along the flap's edge allowed it to flow into the shirt
as they share a few edges. A cloth texture was placed and distorted across a few different pieces, and some real buttons
of mine were placed on the flap to replace the barely distinguishable dots that not only looked blurry but were also too
close to the edge of the polygon.
Well, that's our show folks! I hope you guys benefit from my knowledge. Feel free to add tips of your own in the comments!
-
6
-
-
Finally sat down and worked out how to edit the models. I redid the UV mapping on all the skyboxes in gmax, so they are all centered and look a tad better (especially Peragus, as there was a huge break on the right side). I was able to export the corrected models using NWMax. At first I tried using Taina's Replacer, but the module wouldn't load, so I ended up copying the corrected UV coordinates directly between the old and new ASCII files before recompiling to binary, and it worked!


Originally when you looked at the top of the Dxun skybox, the texture would mirror and show the ground above you
-
4
-
-
BREAKTHROUGH!!
I FINALLY figured out how to make the skyboxes display at their maximum brightness. It was as simple as editing the ASCII of the model and recompiling! I just had to set the self illumination and ambient stats to maximum, and it worked!!

Now I can re-render the shots (this time including Peragus) at their original brightness without any extra glow effect, as this will be added in-game. My only concern is editing the model, as it's possible that the M4-78EP does this as well to correct the UV mapping on the M4-78 skybox. Perhaps I can incorporate this into my mod, maybe even correct the UV mappings of the rest of the skyboxes.
-
4
-

[WIP] High quality skyboxes
in Work In Progress
Posted
Wow, this is looking pretty good! I'm interested in including these in my M4-78 Ebon Hawk movies if I do another version.